DIY Leaf Motif Screenprinting, as seen on Naturally, Danny Seo
Watch Botany in the Big City on Naturally, Danny Seo to see this project in action!
It’s easy to screenprint at home with a few simple, inexpensive items. I’m working on creating a kit to sell in the shop, and you can join the reserve list here. Otherwise, you can pull together these items on your own and get printing right away!
SHOPPING/SCAVENGE LIST
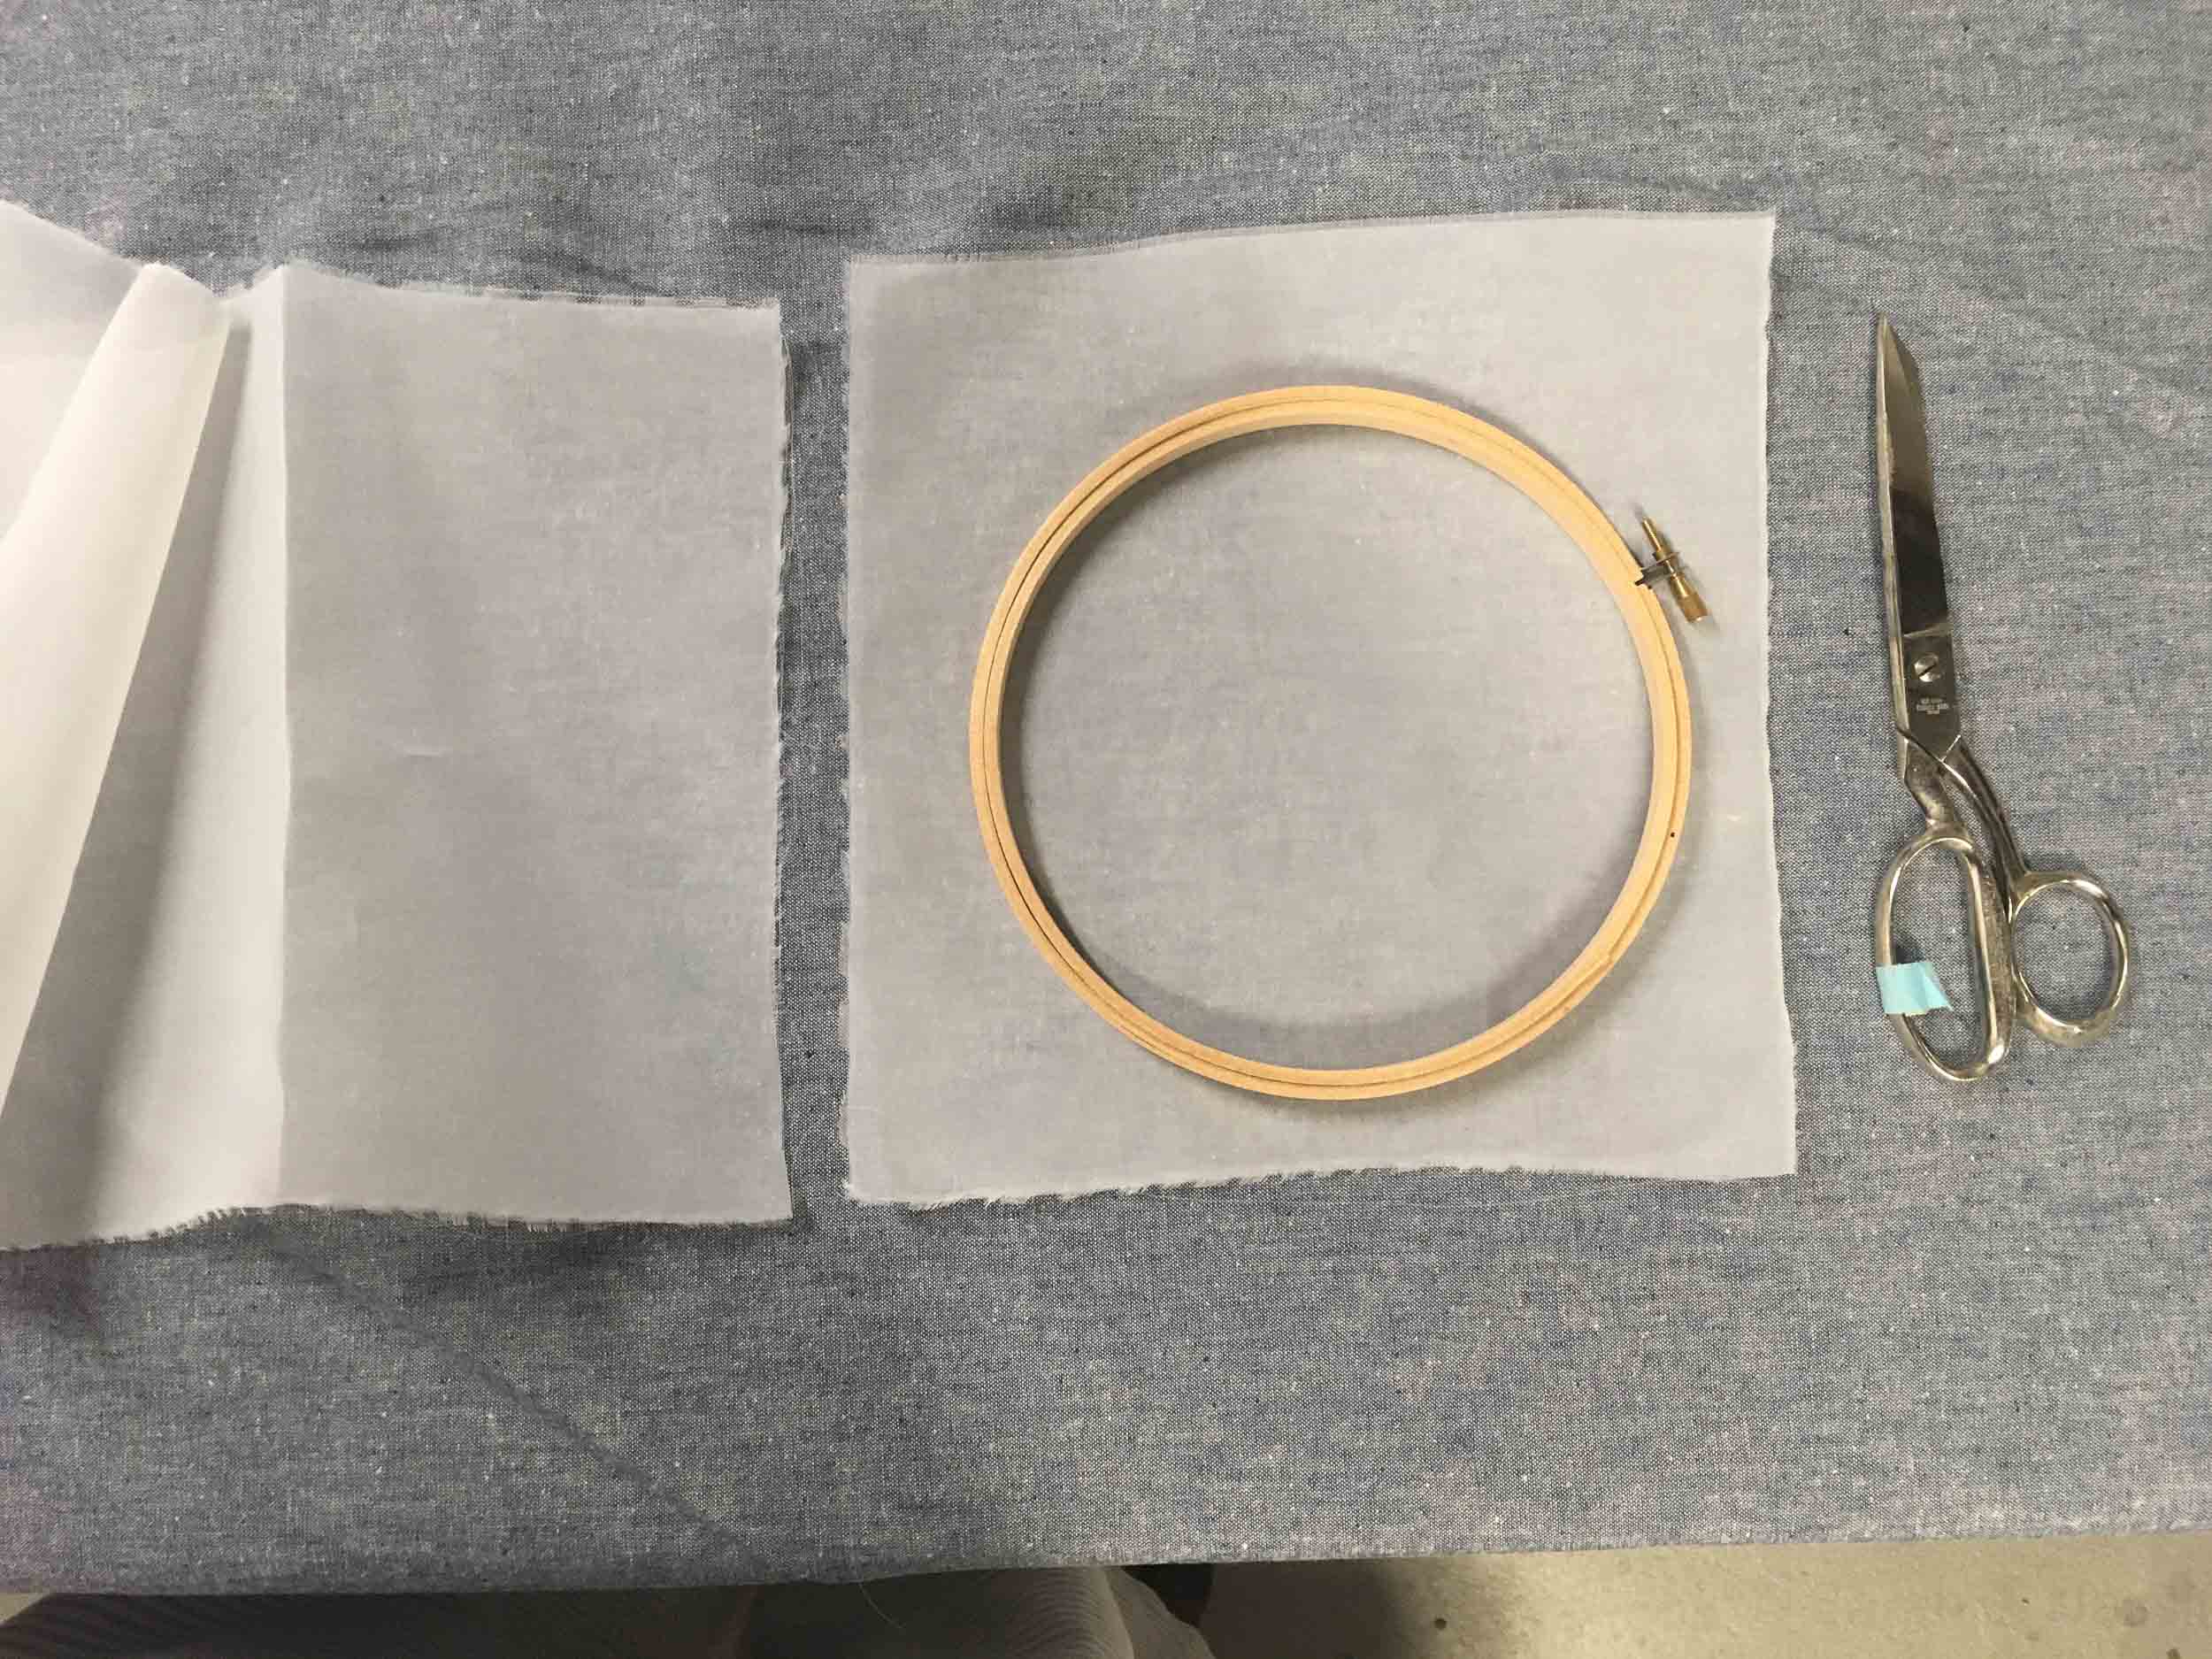
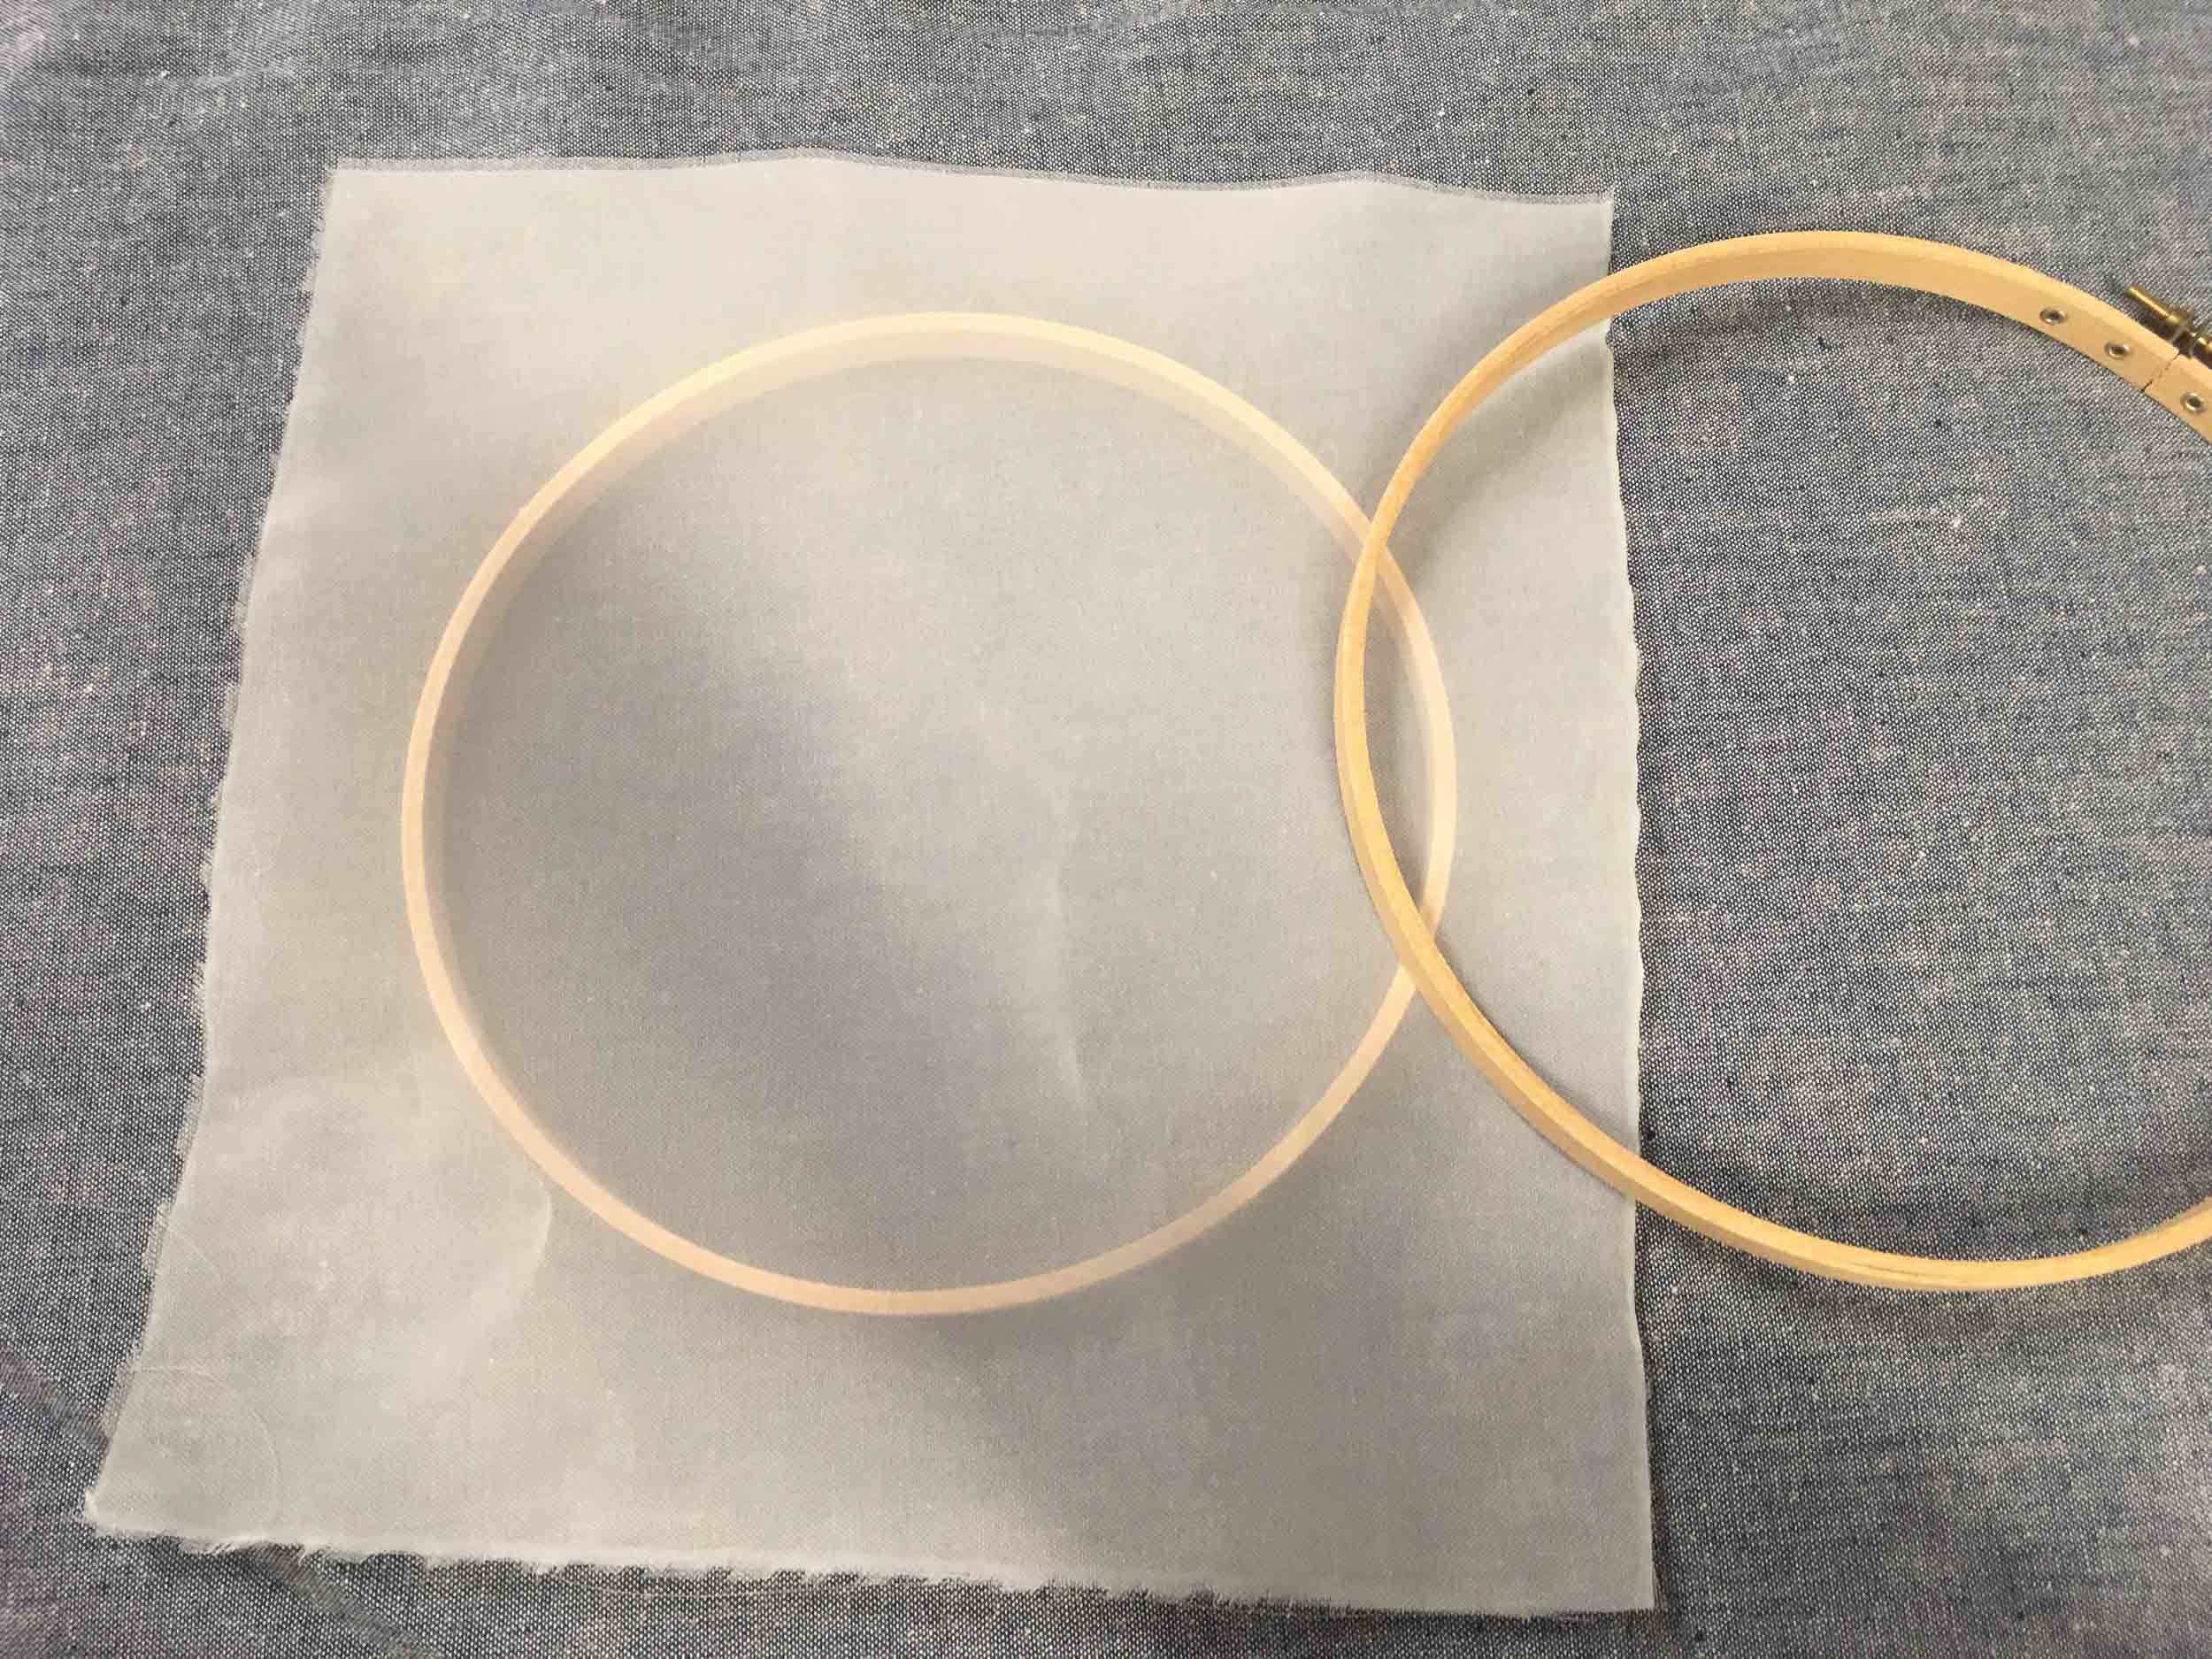
7” embroidery hoop: the cheap wood kind is best. 7” is ideal, but you can experiment with other sizes.
fine mesh fabric: your local art store should stock 110 screenprinter’s mesh, just ask or look online. You can try any type of fine mesh fabric—even organza.
screenfiller: another art supply store purchase. The stuff is really just called “screenfiller”!
paint brushes: I like a 1” foam brush, a medium brush and a detail brush. But you can use whatever works!
square drawing paper: just make sure your design is no wider than your squeegee
squeegee: you can use an old credit card (3.25” wide), or anything that fits inside the screen
ink: waterbased screenprinting ink. I always buy the fabric type, it works on paper and fabric!
PROJECT STEPS
EXPLORE & DESIGN
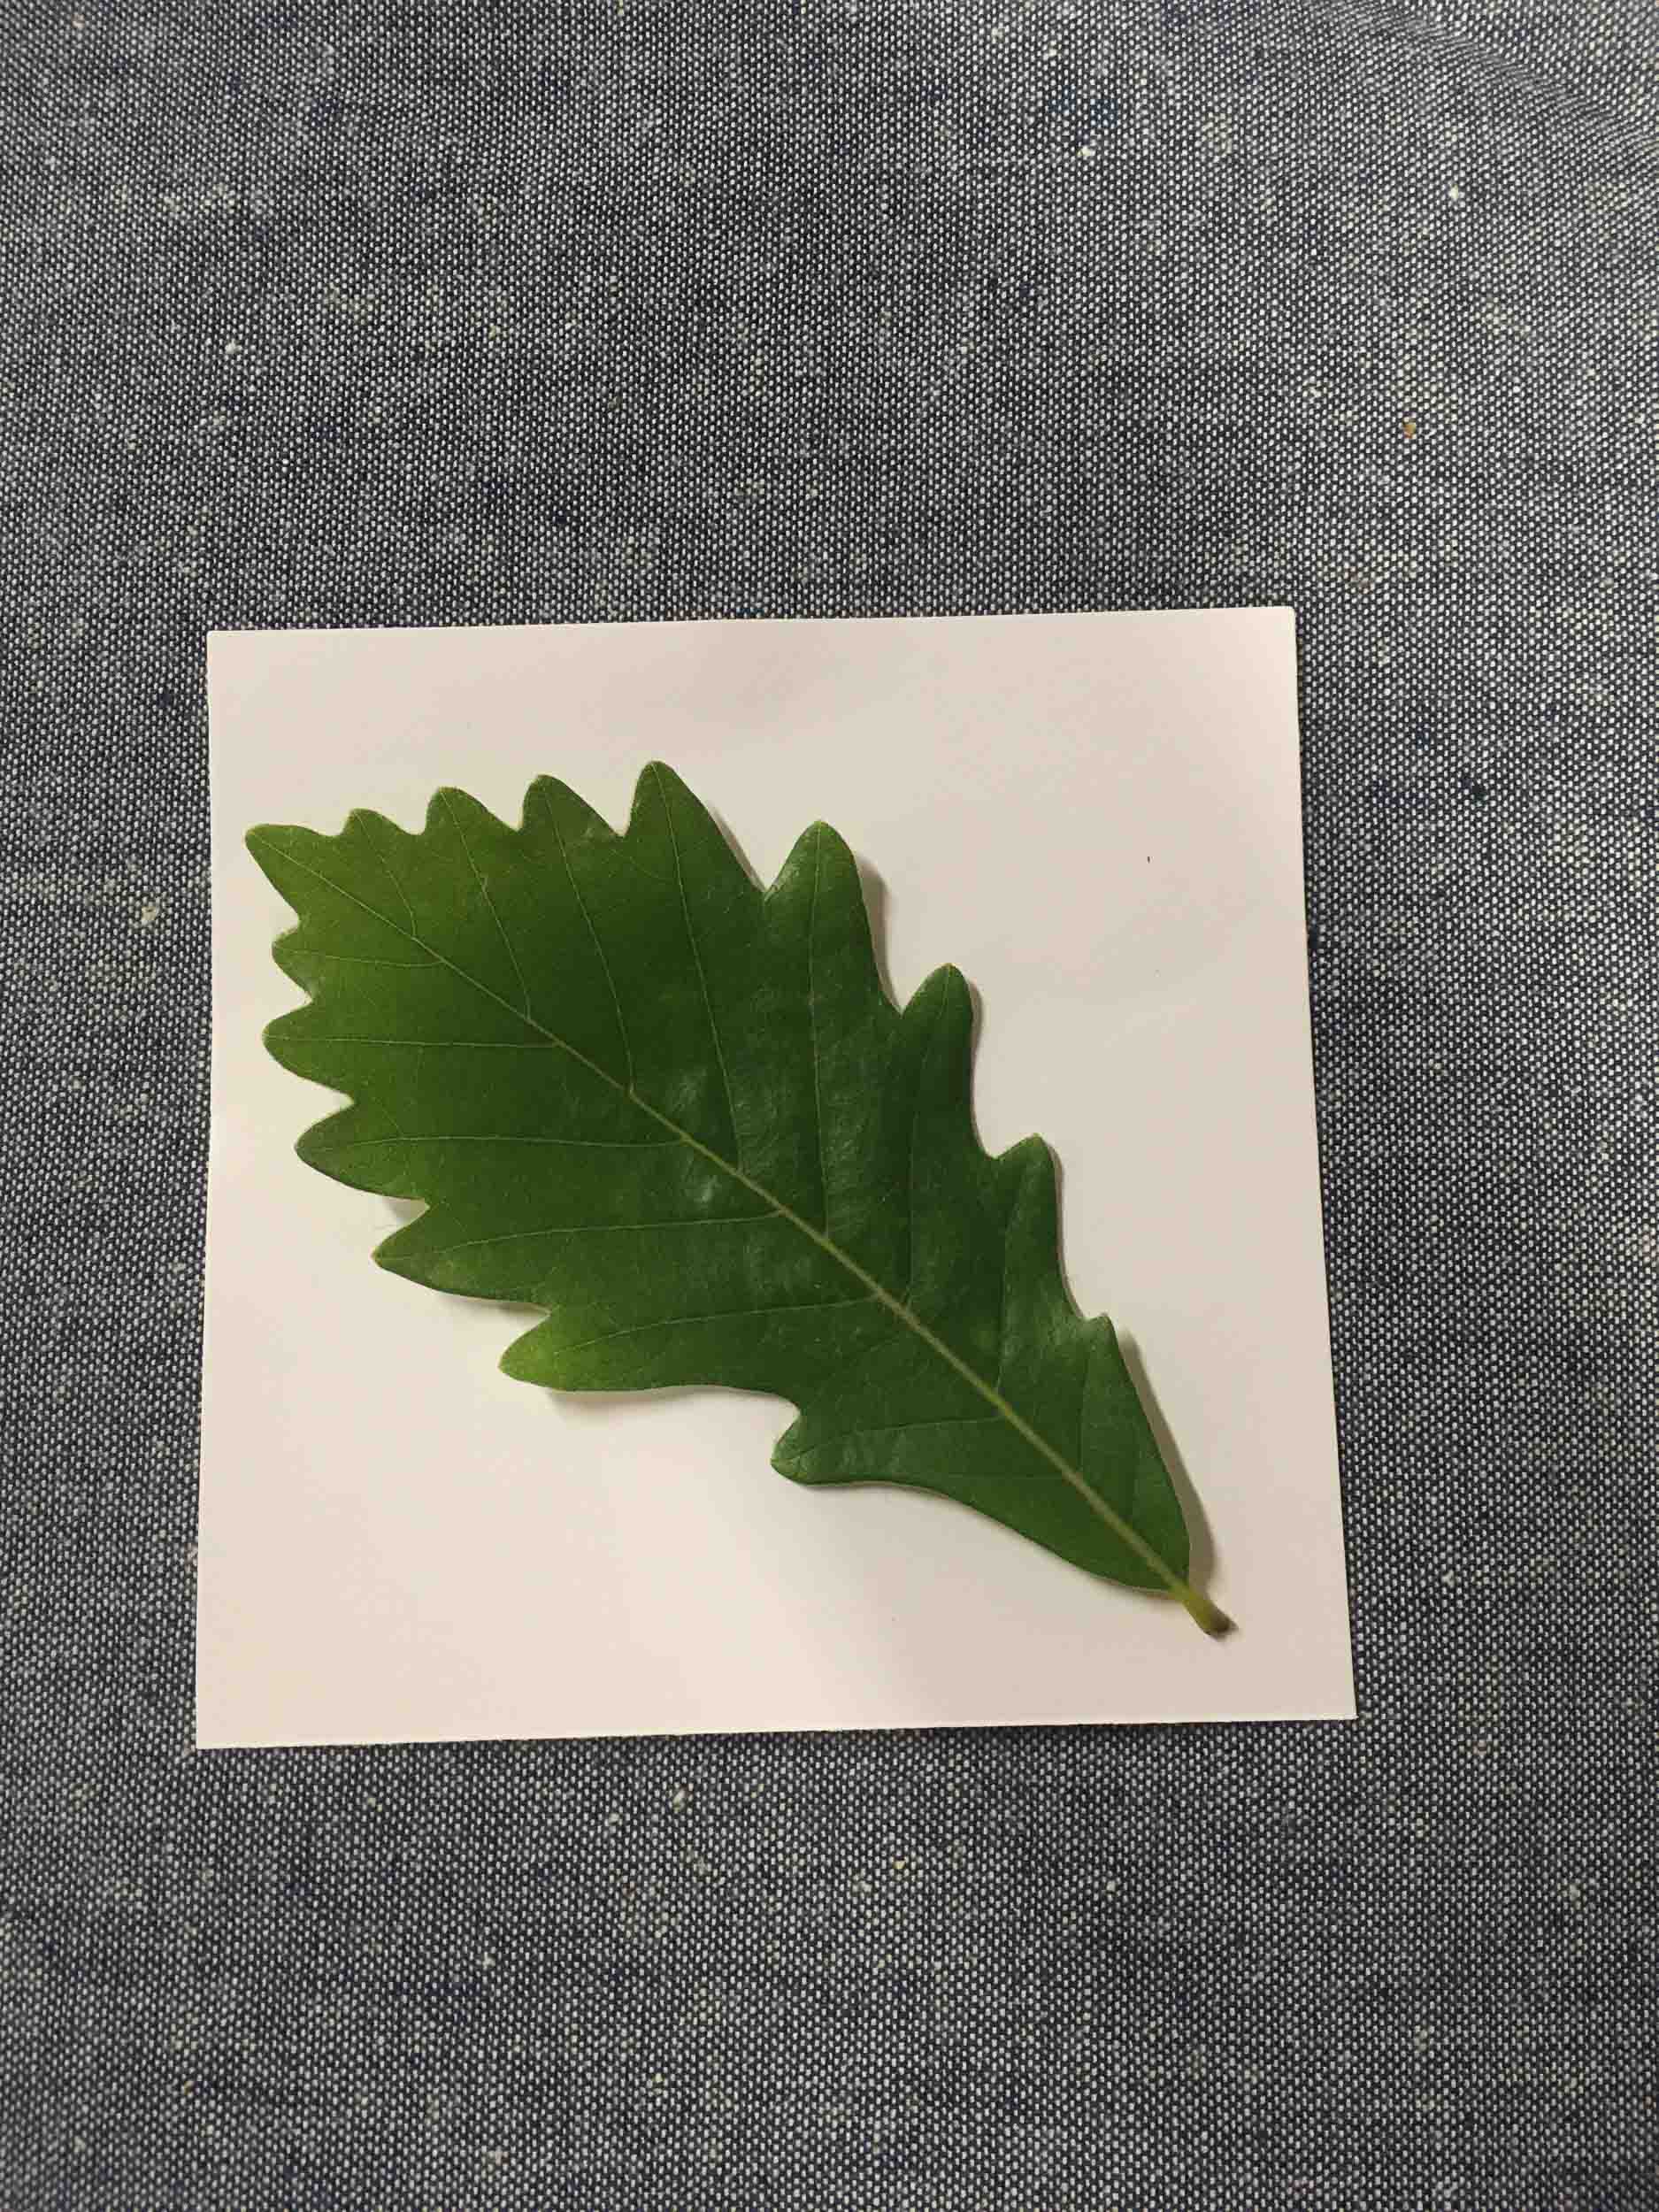
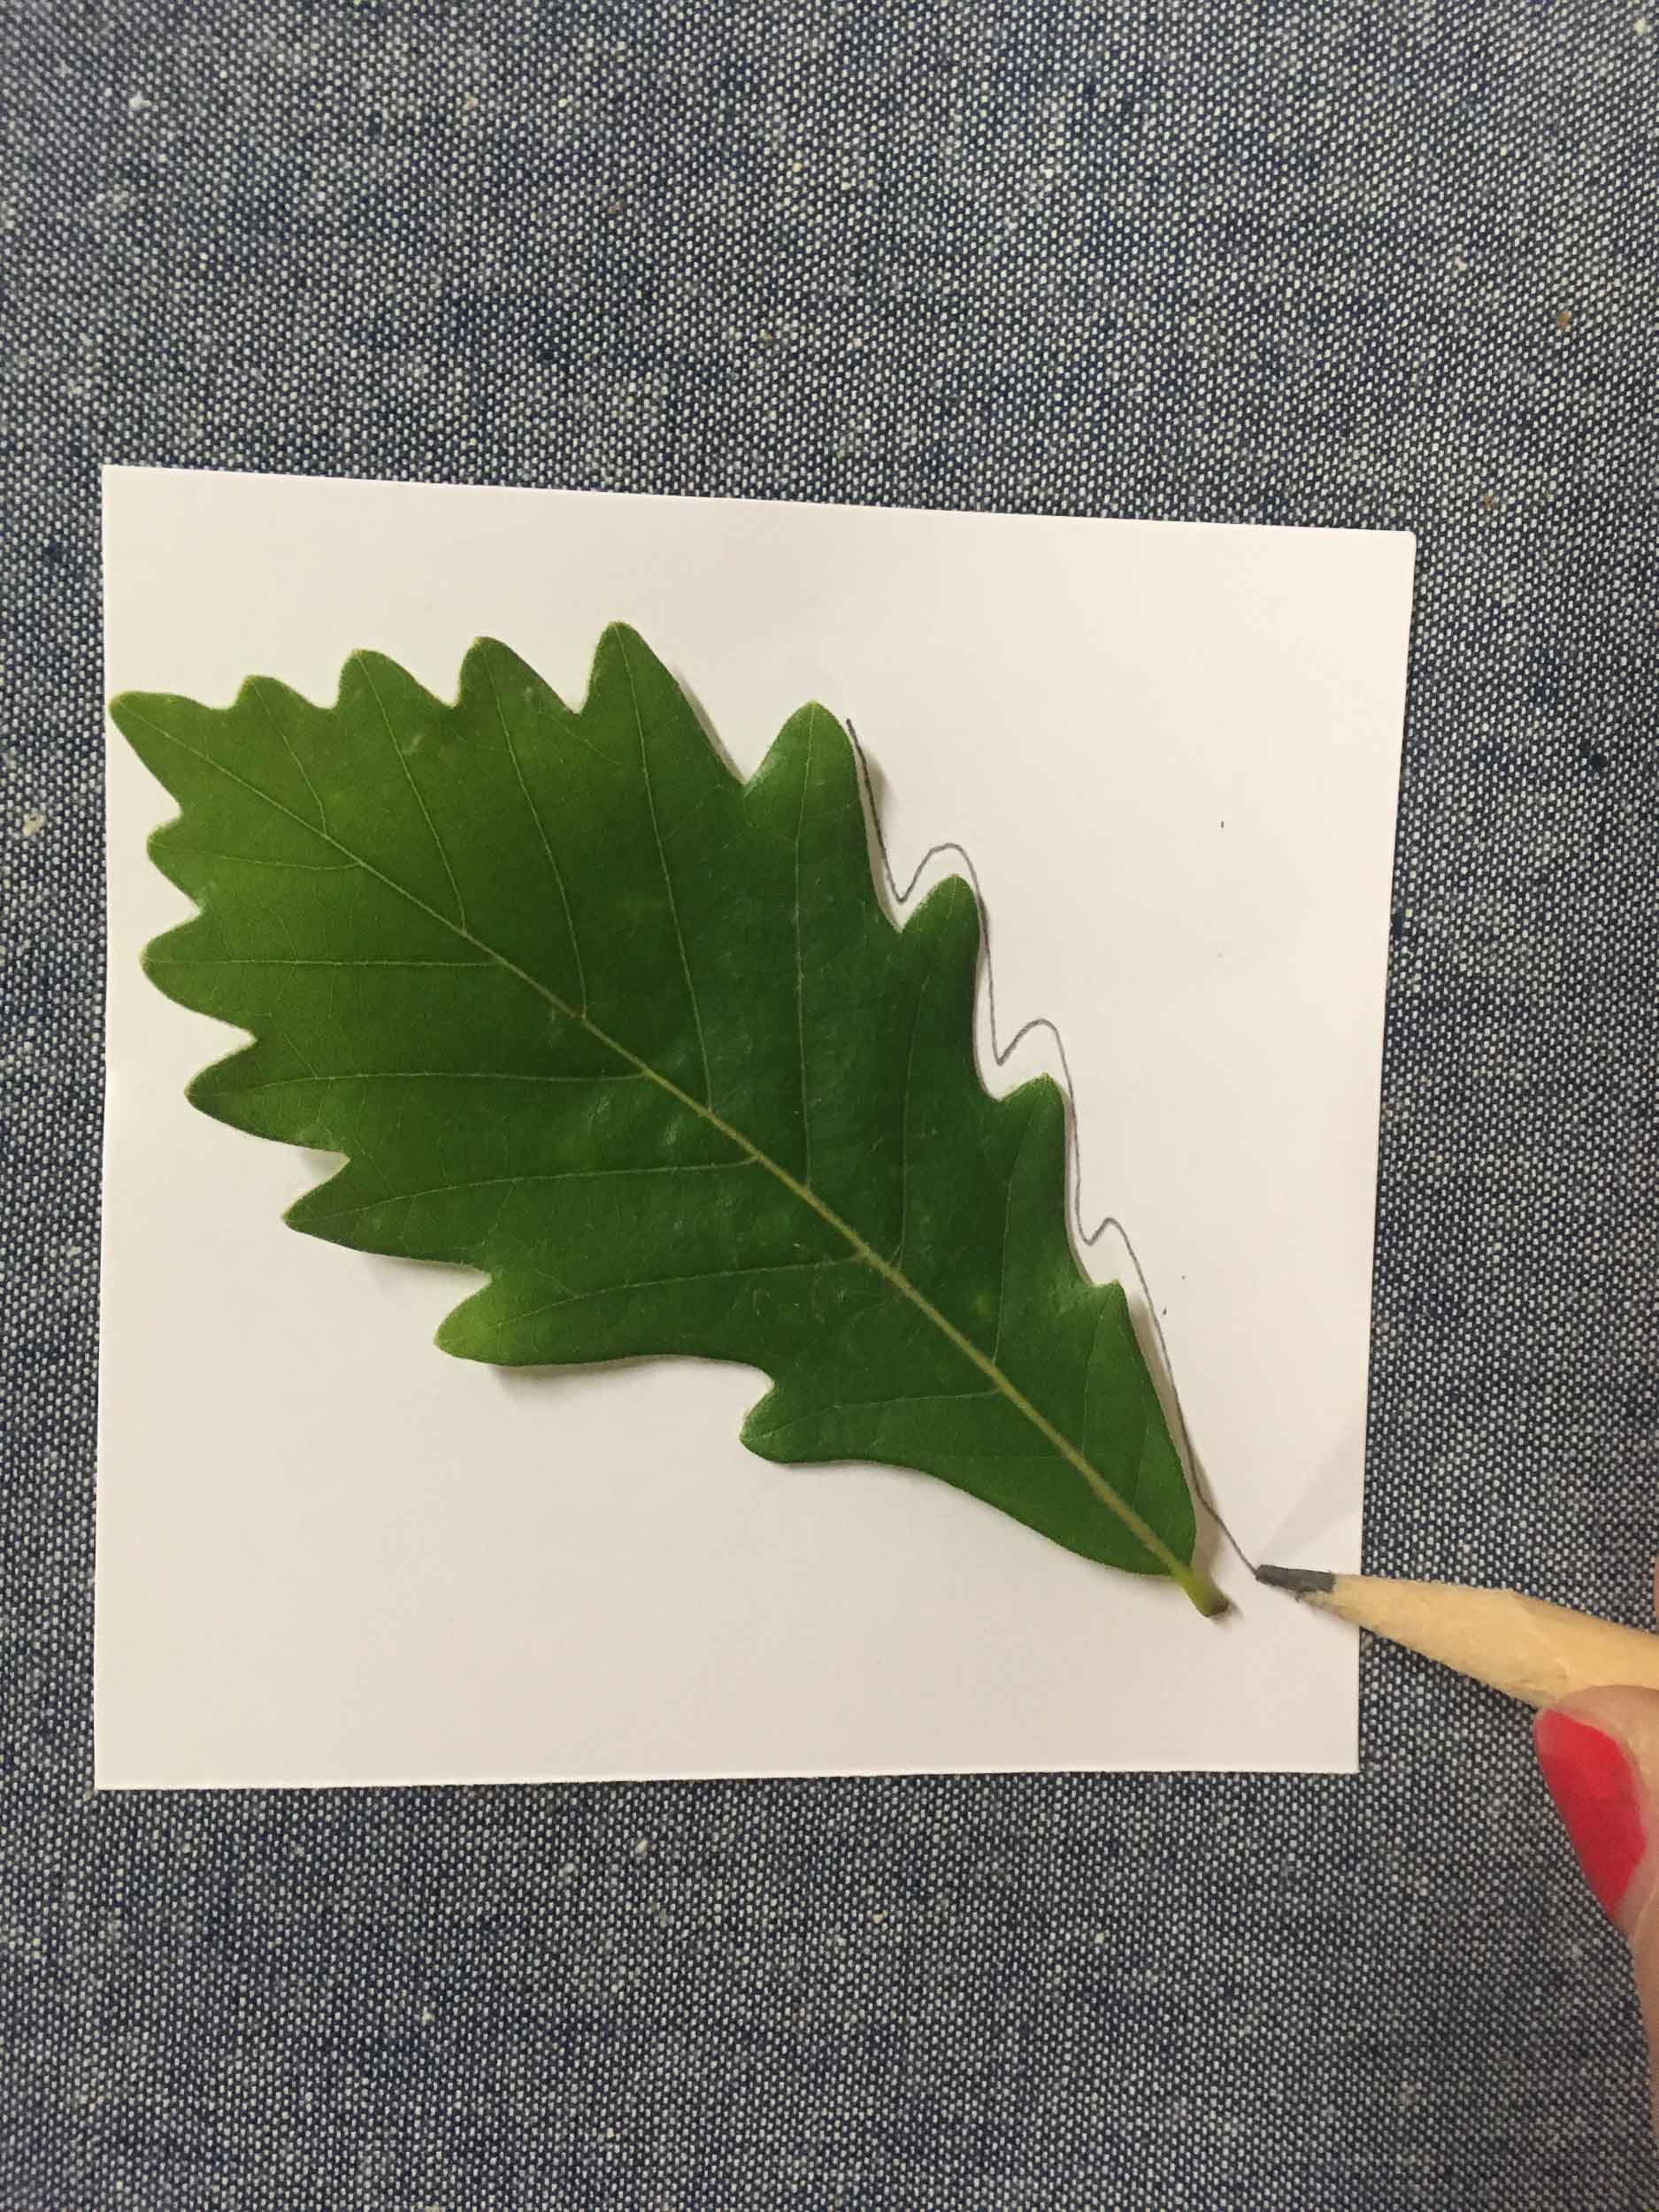
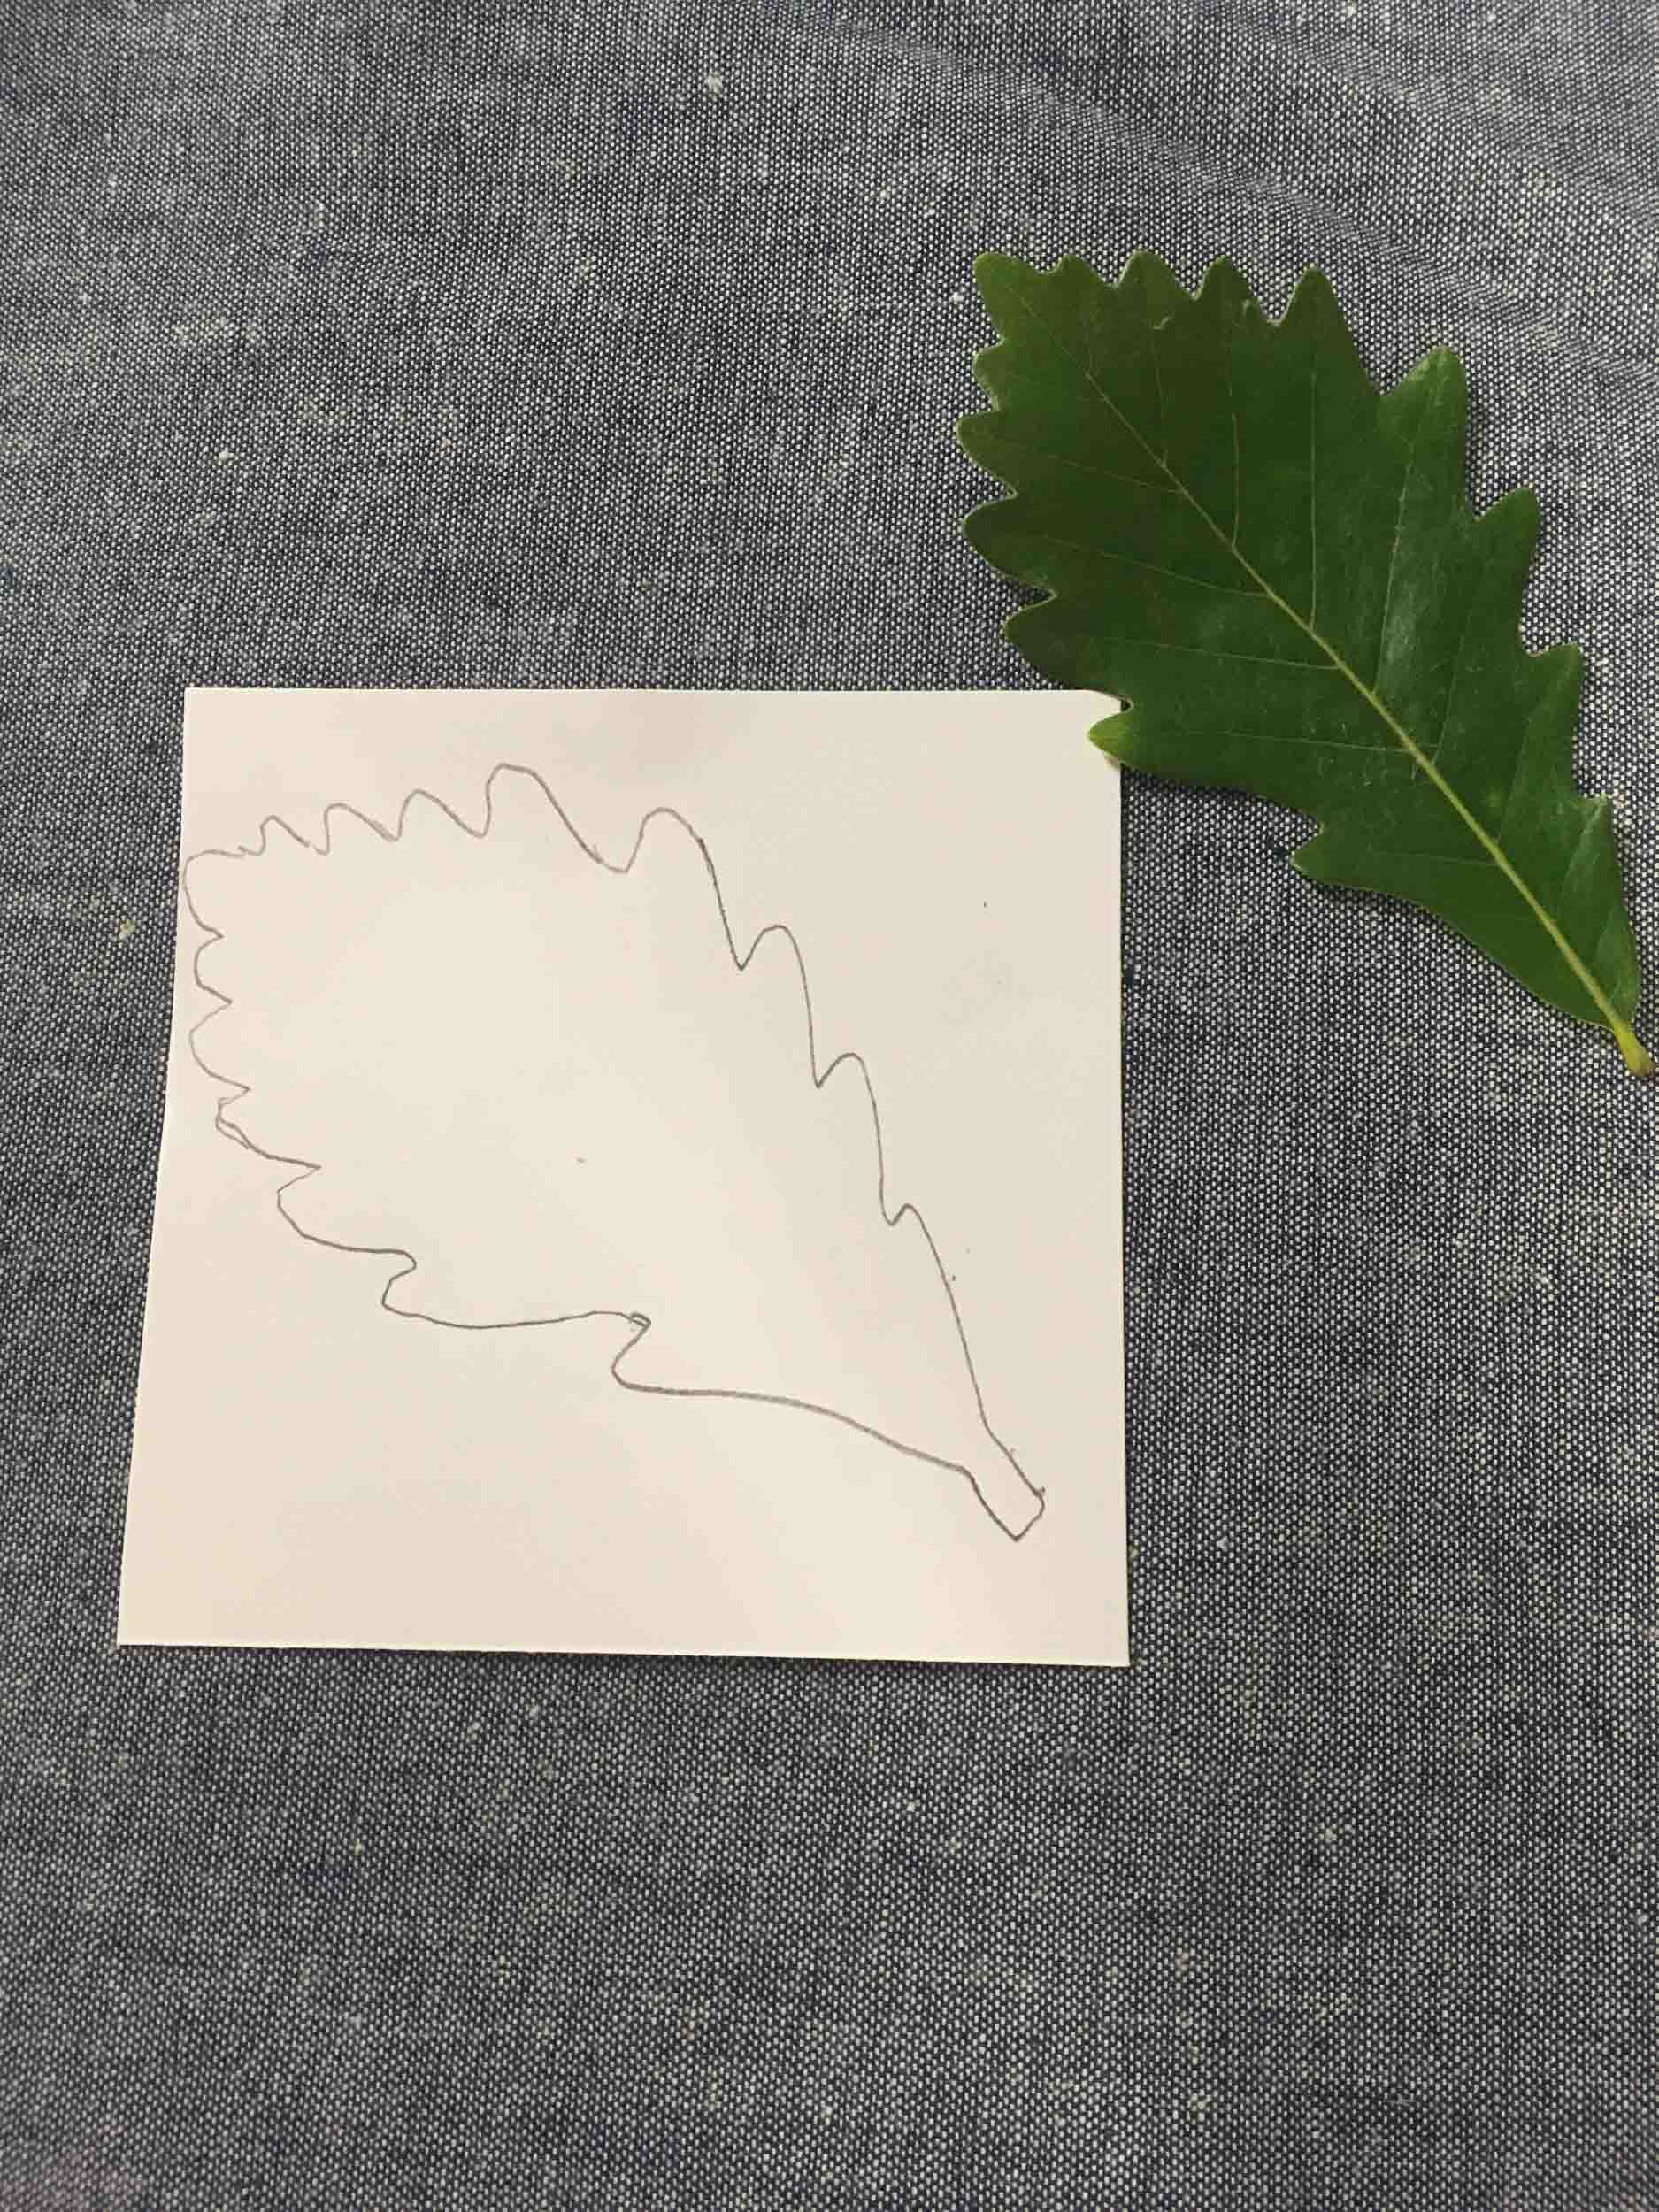
Explore your neighborhood. Find a cool leaf!
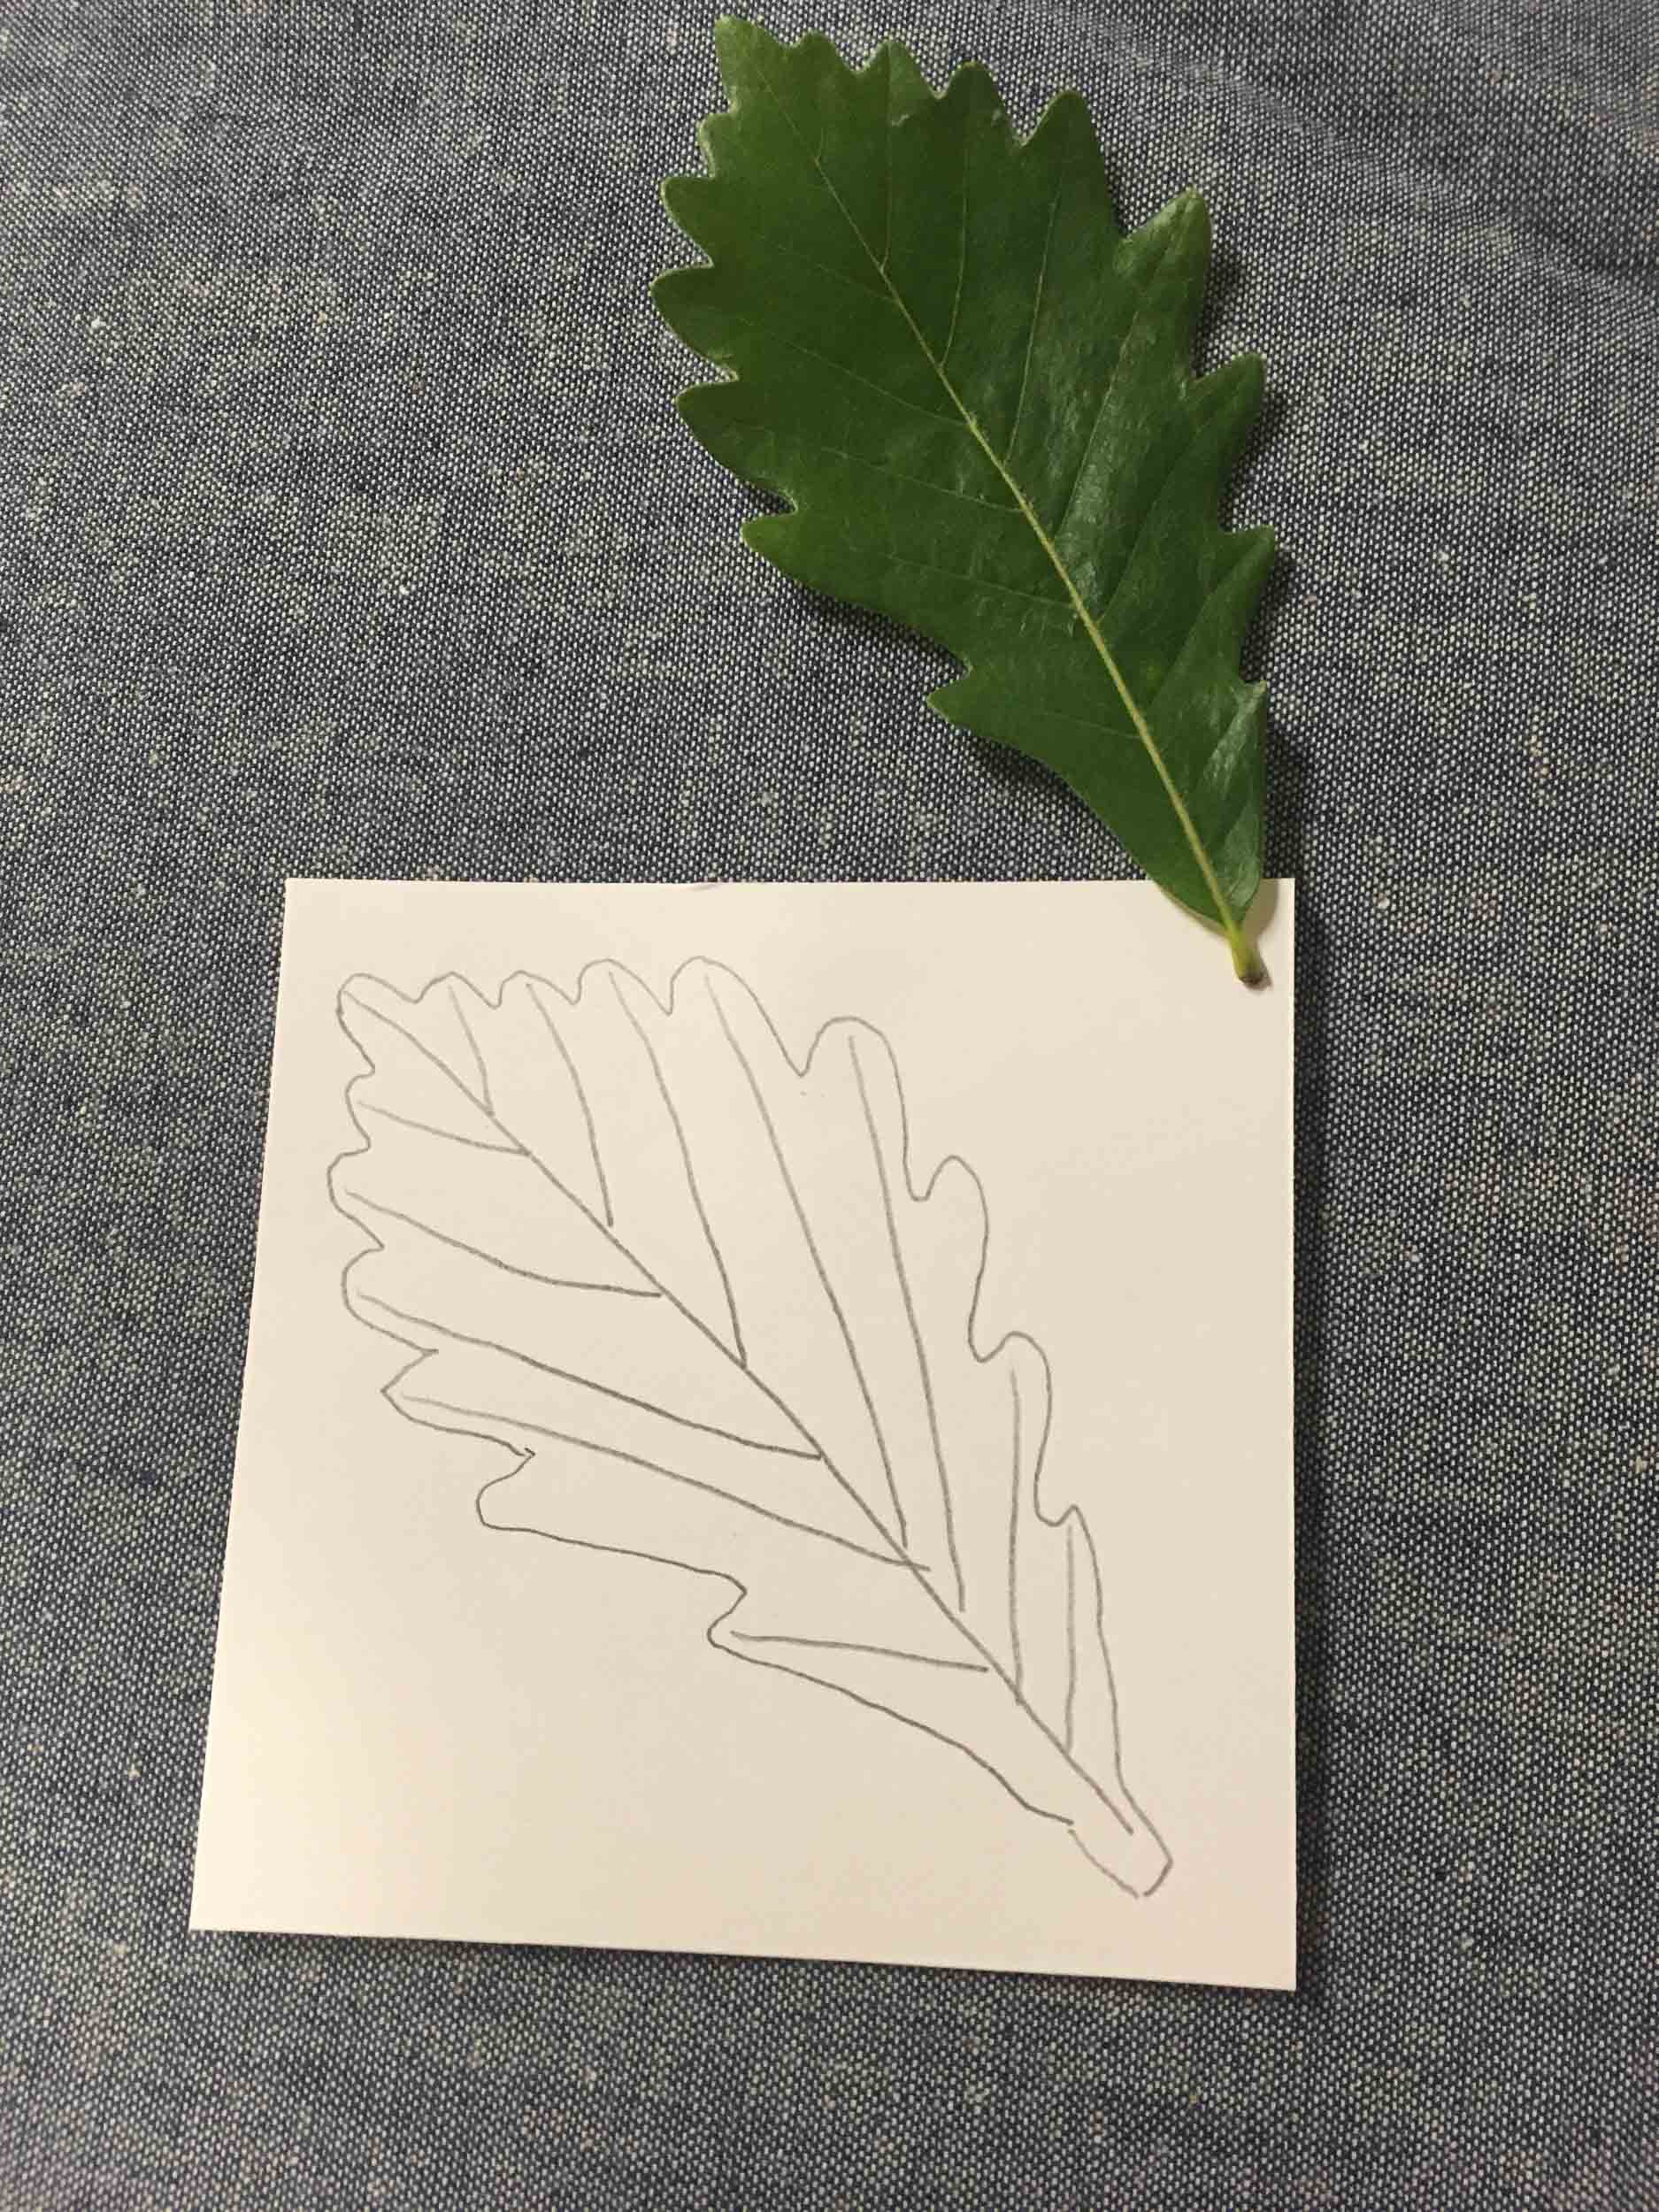
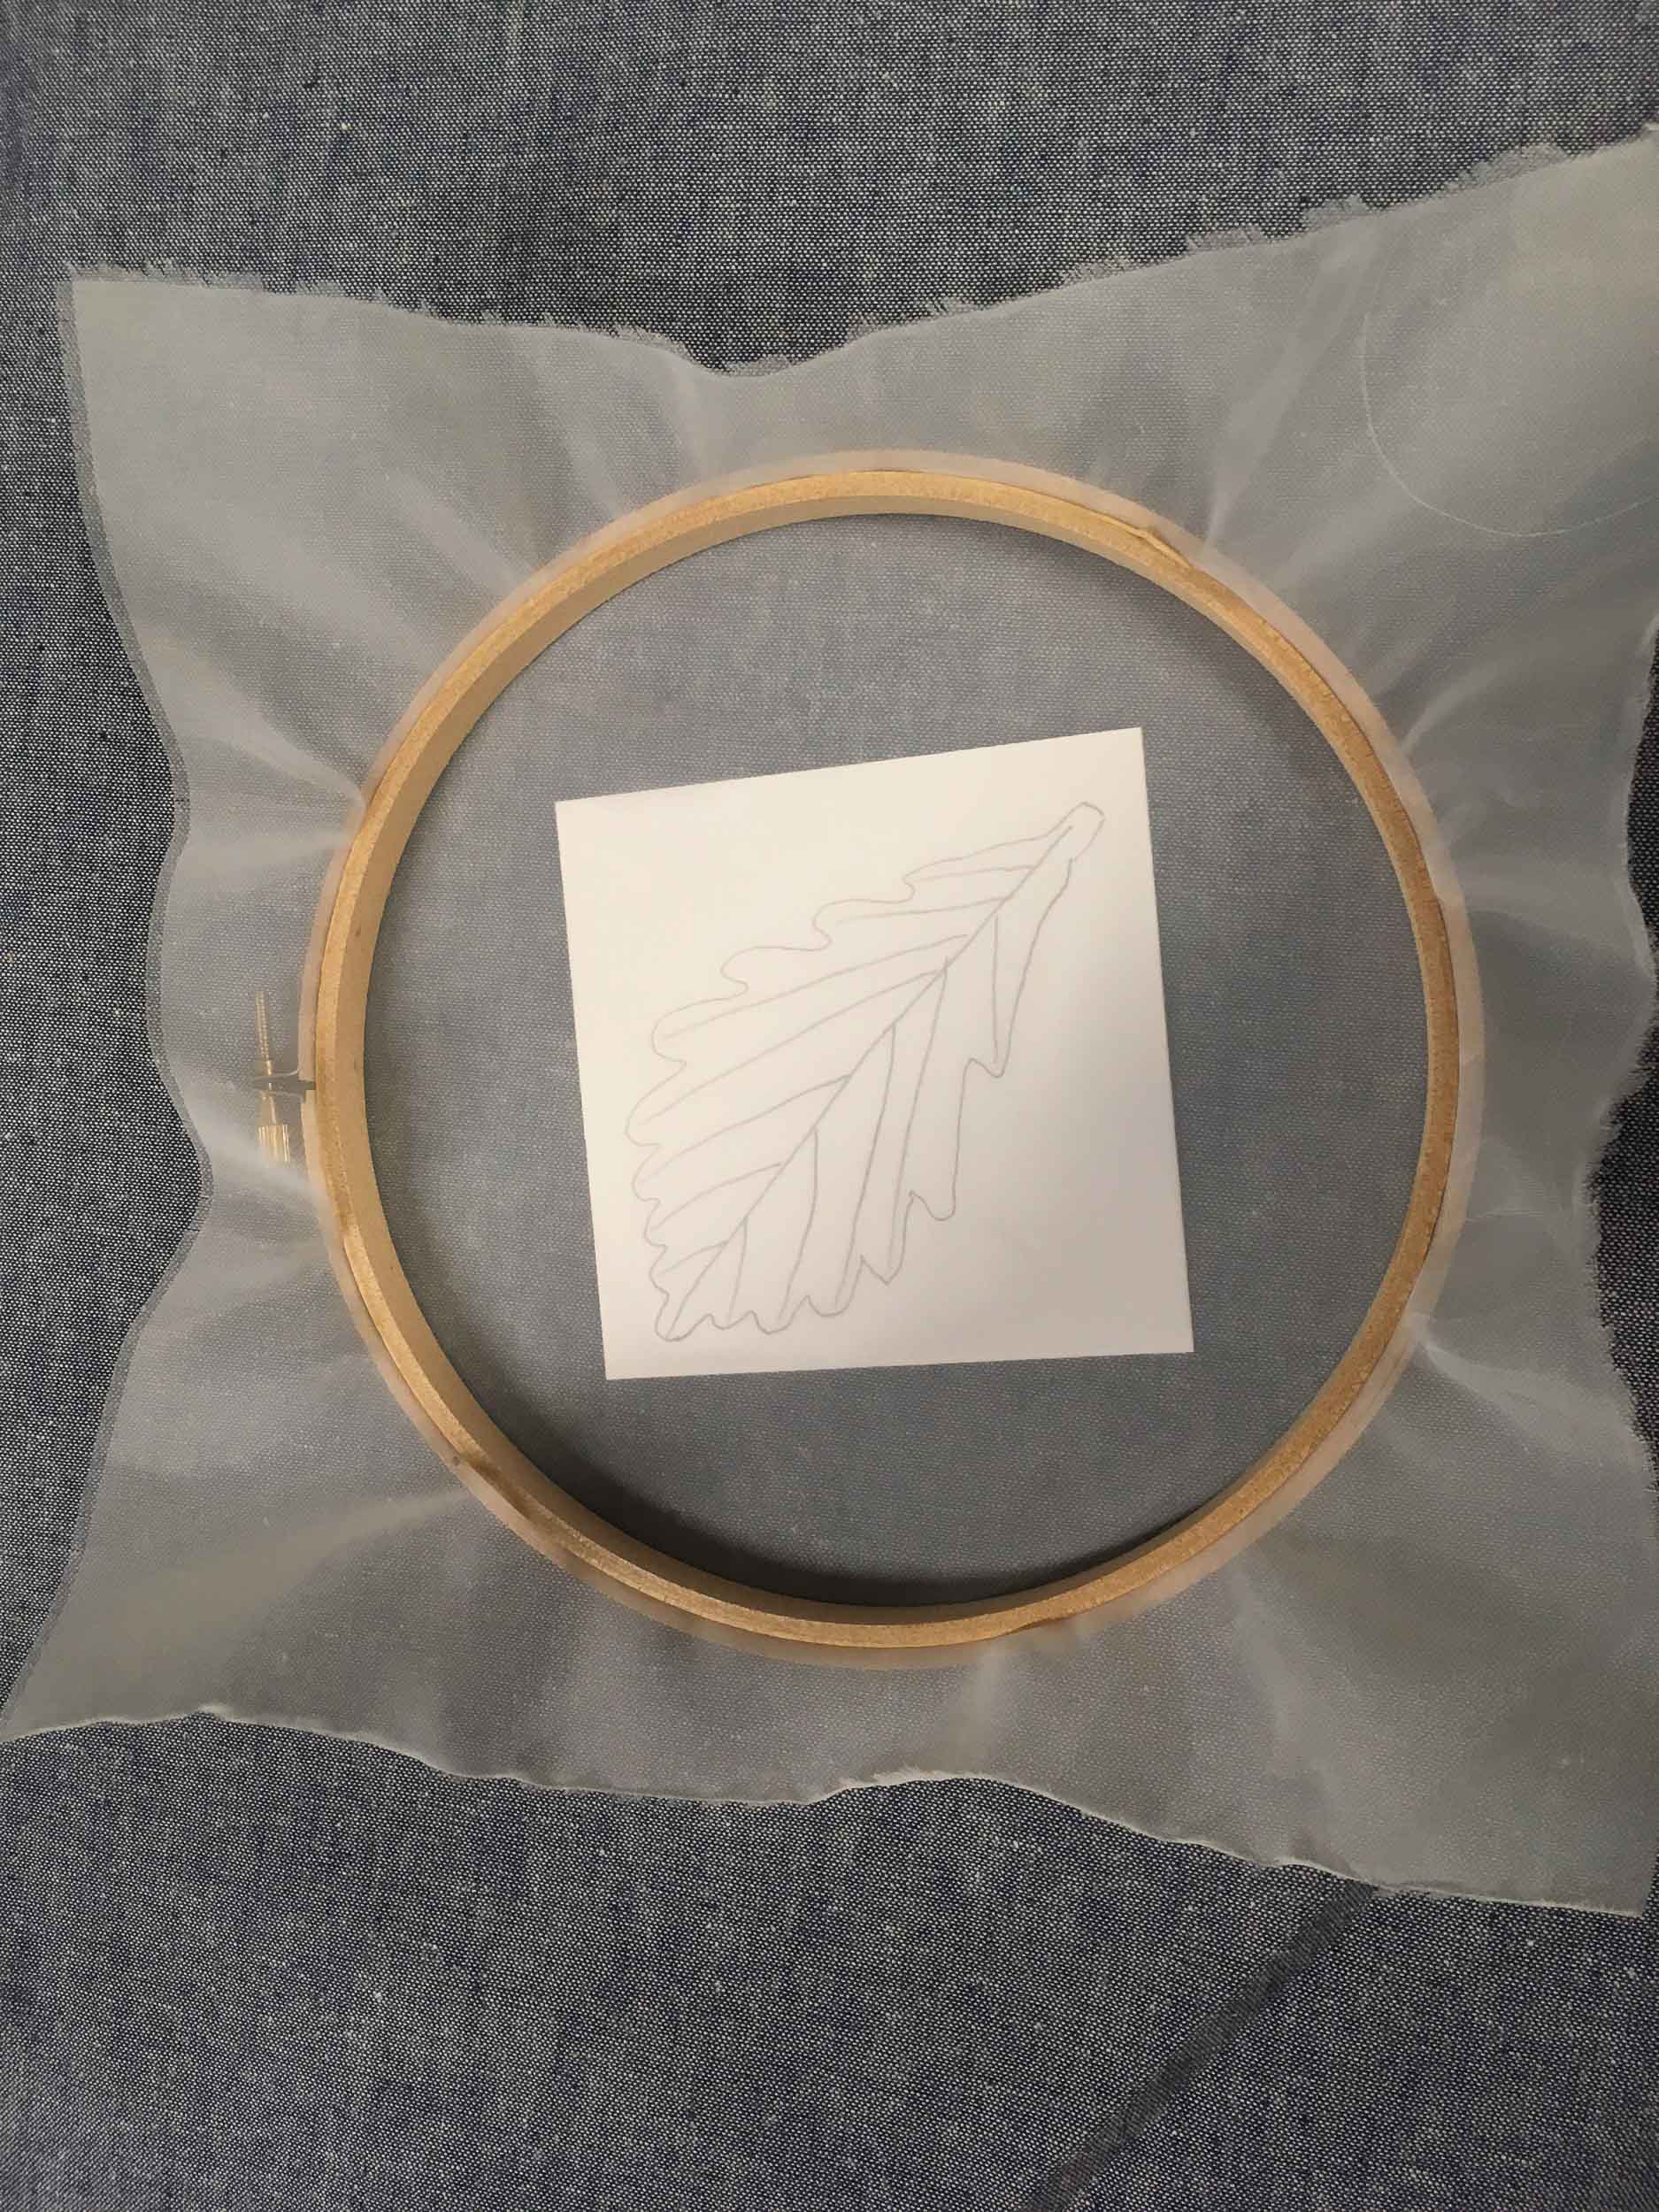
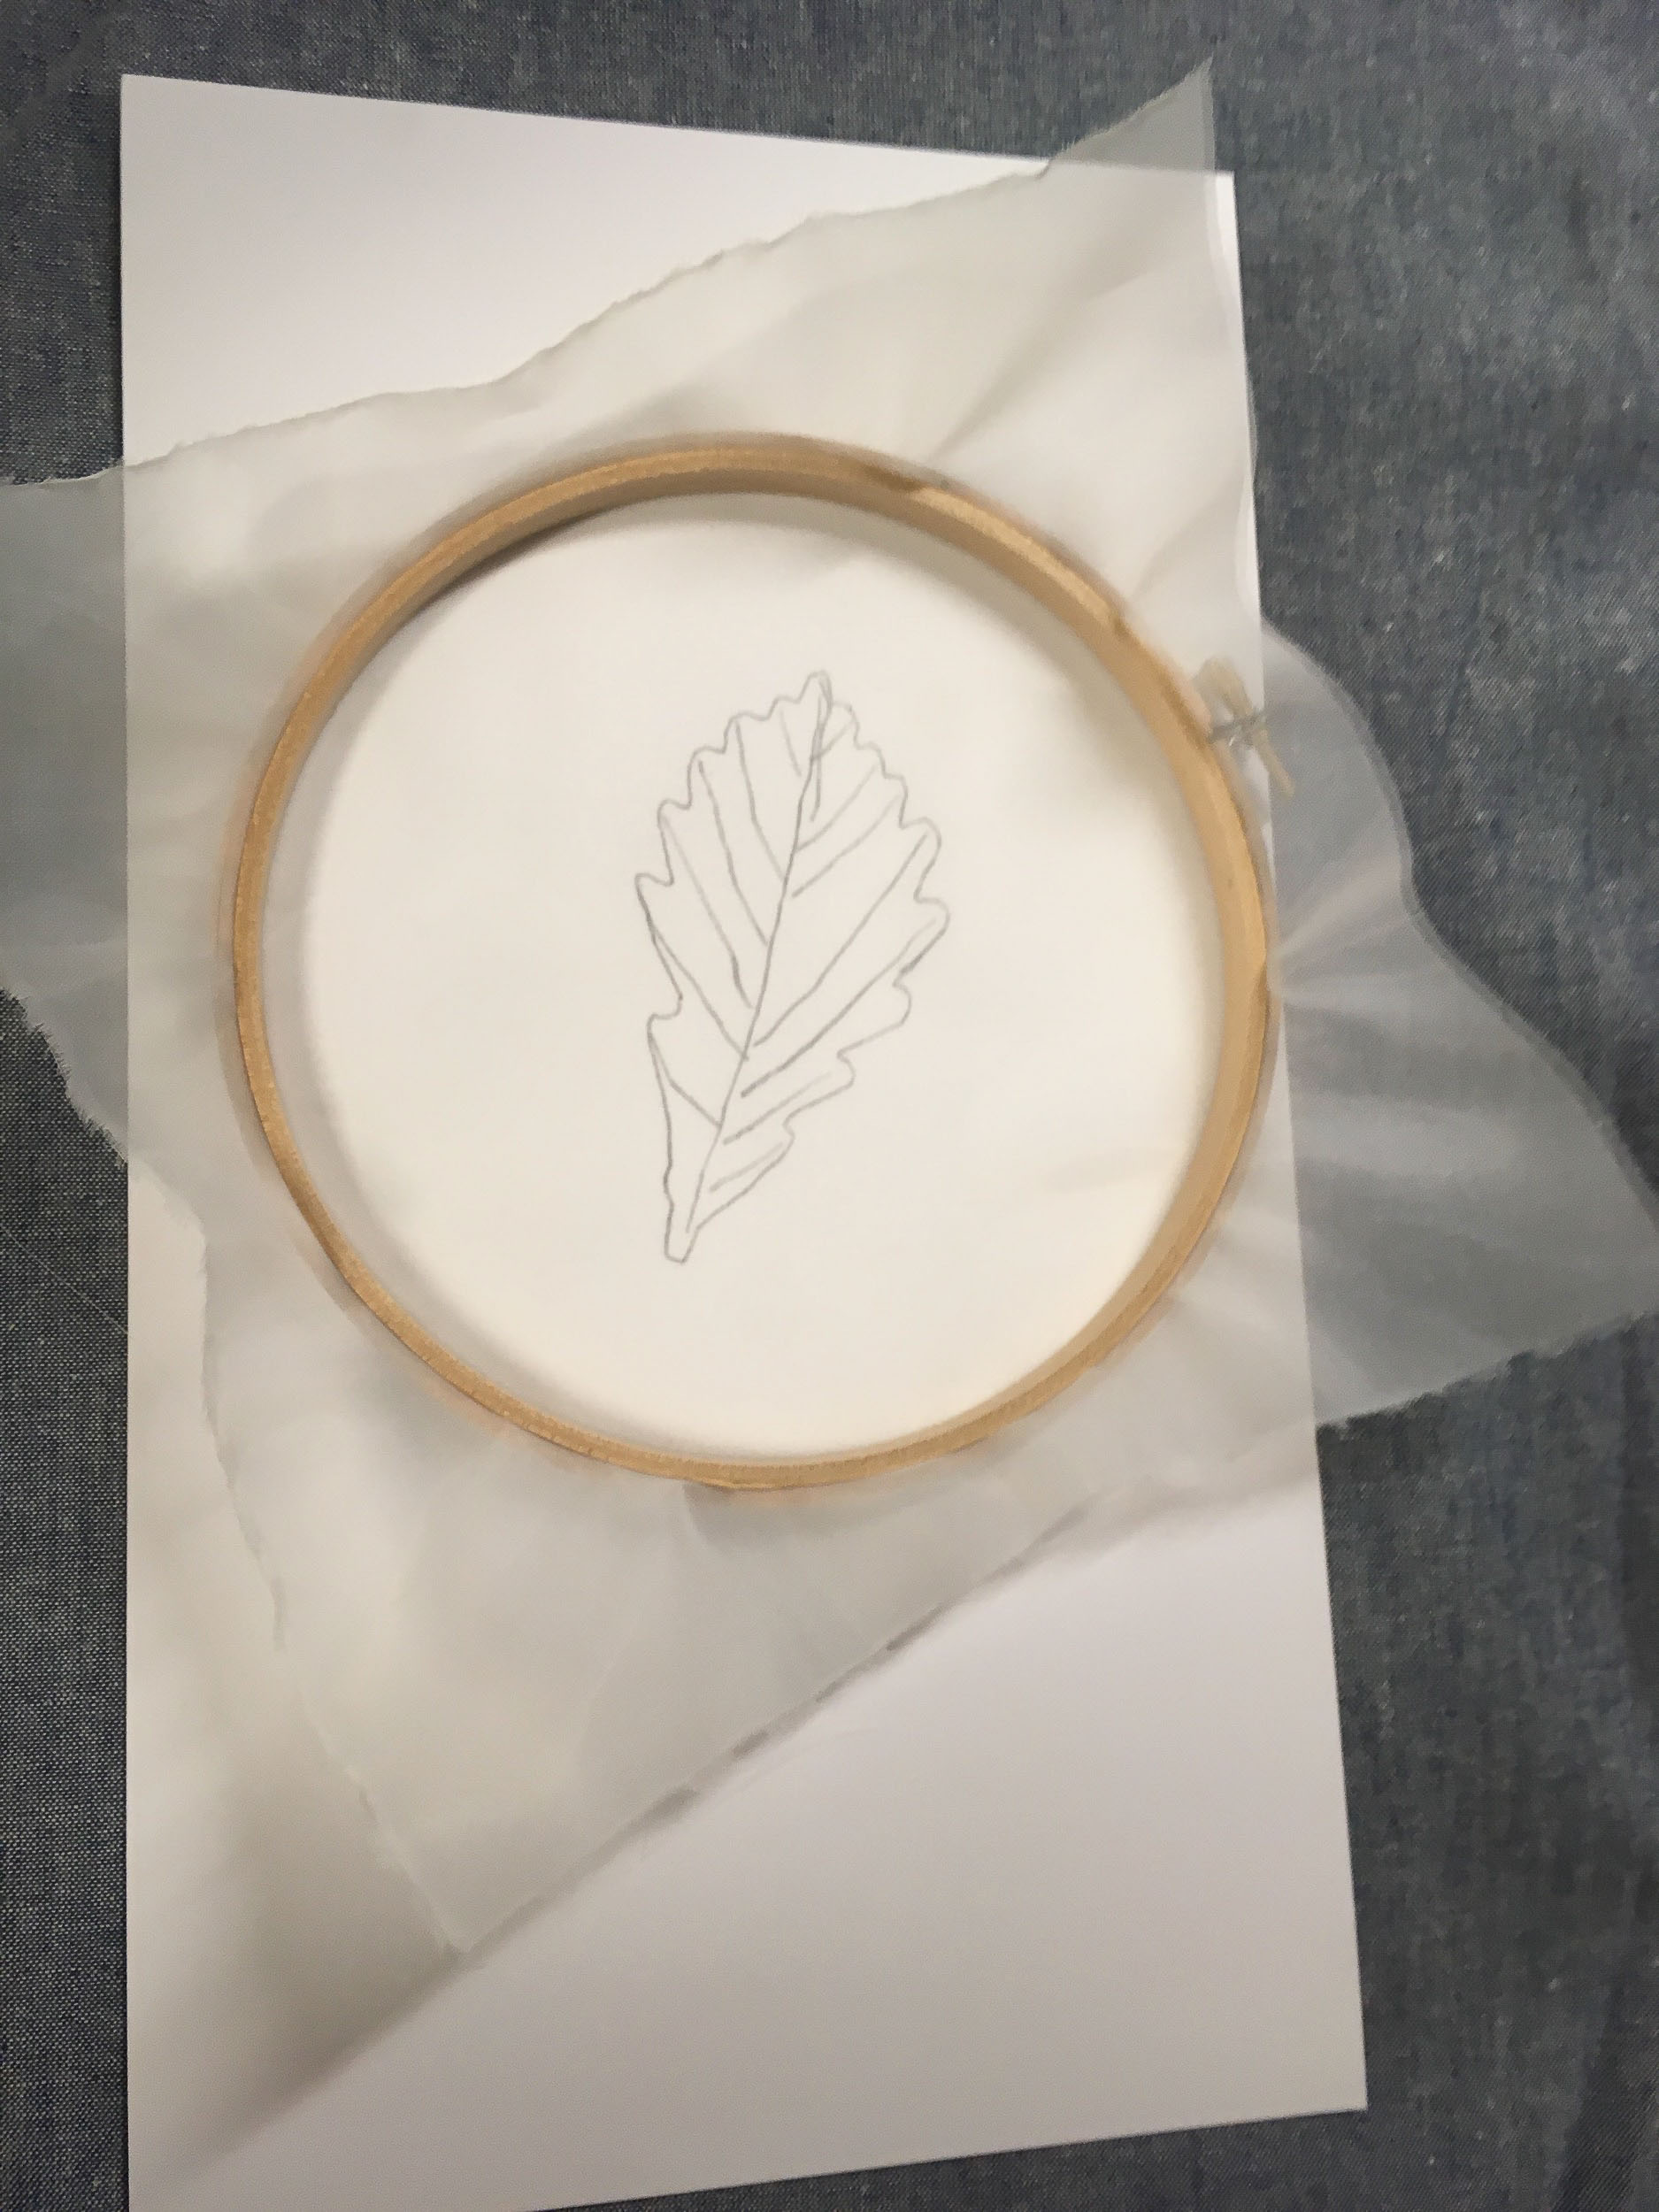
Trace your leaf, or freehand draw your design onto your 3.25” drawing card. Your motif must have a continuous outer edge — so stems must be drawn as boxes, not lines!
Add interior details you notice — leaf veins, spots, cracks, etc.
MAKE YOUR SCREEN
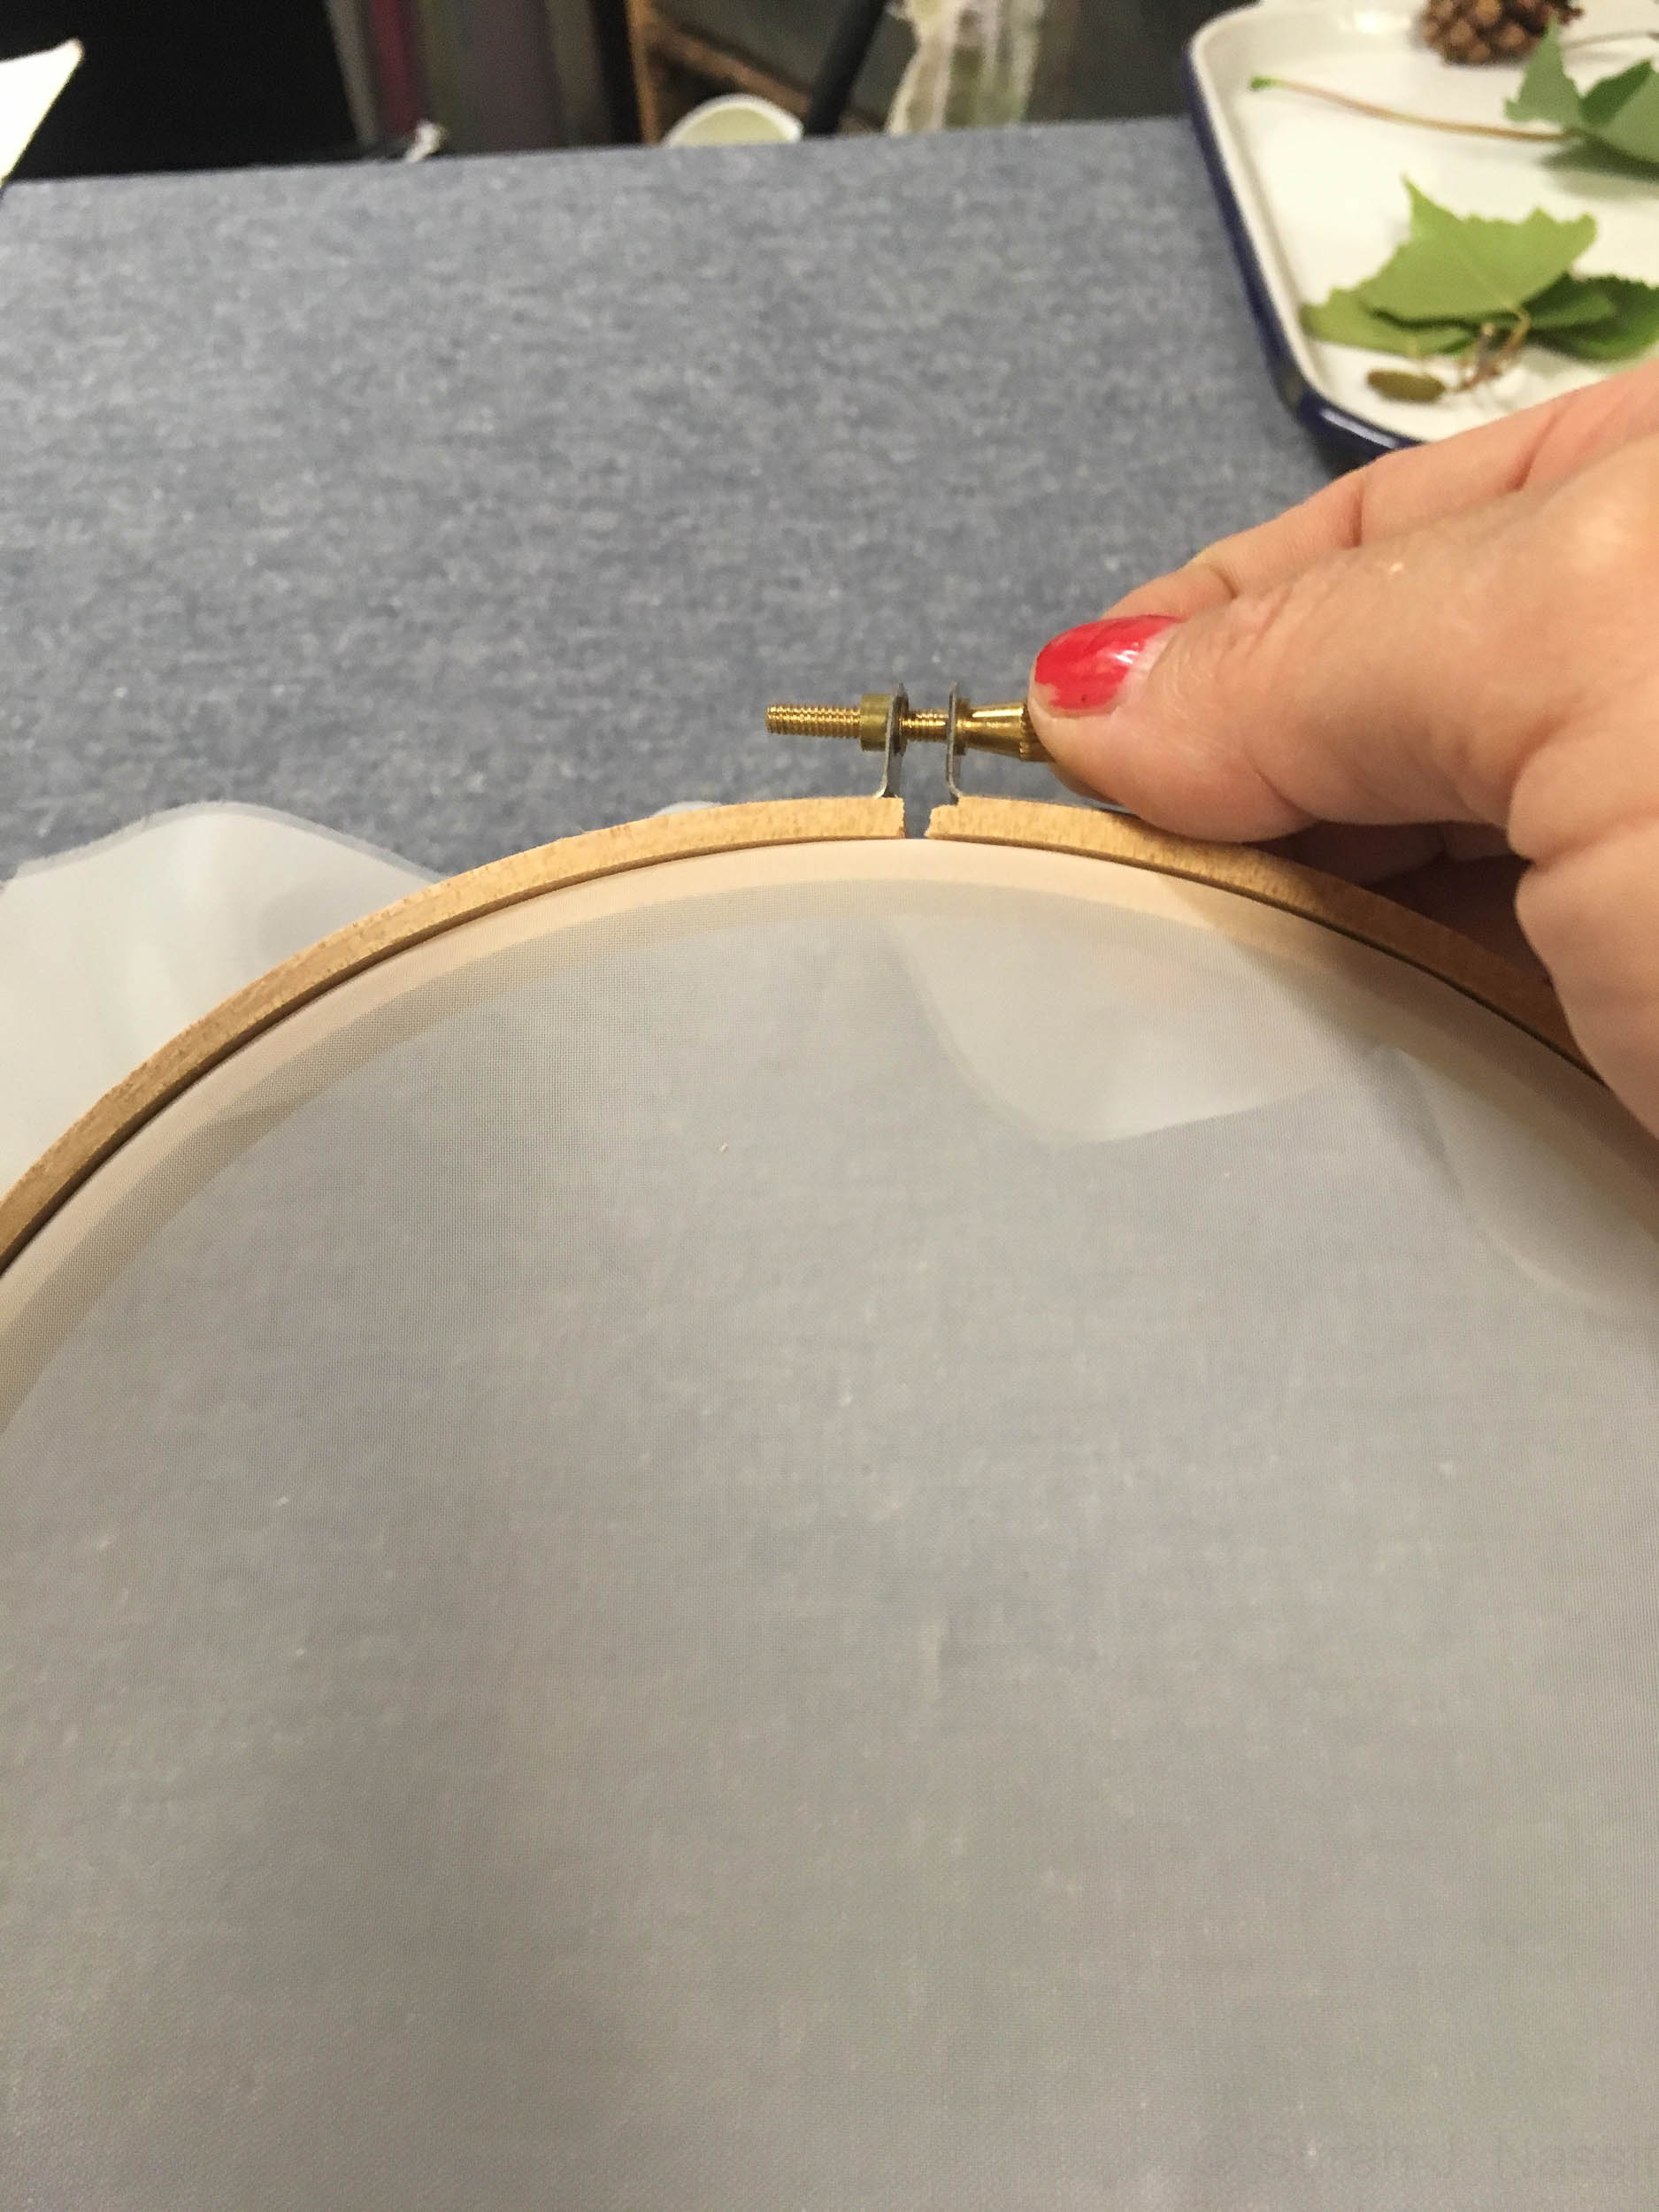
Put your mesh into the embroidery hoop and pull tight. You want it to be like a drum!
Set your drawing face up on the table, lay the hoop so that the mesh side is touching the drawing and the loose edges of mesh are pointing up.
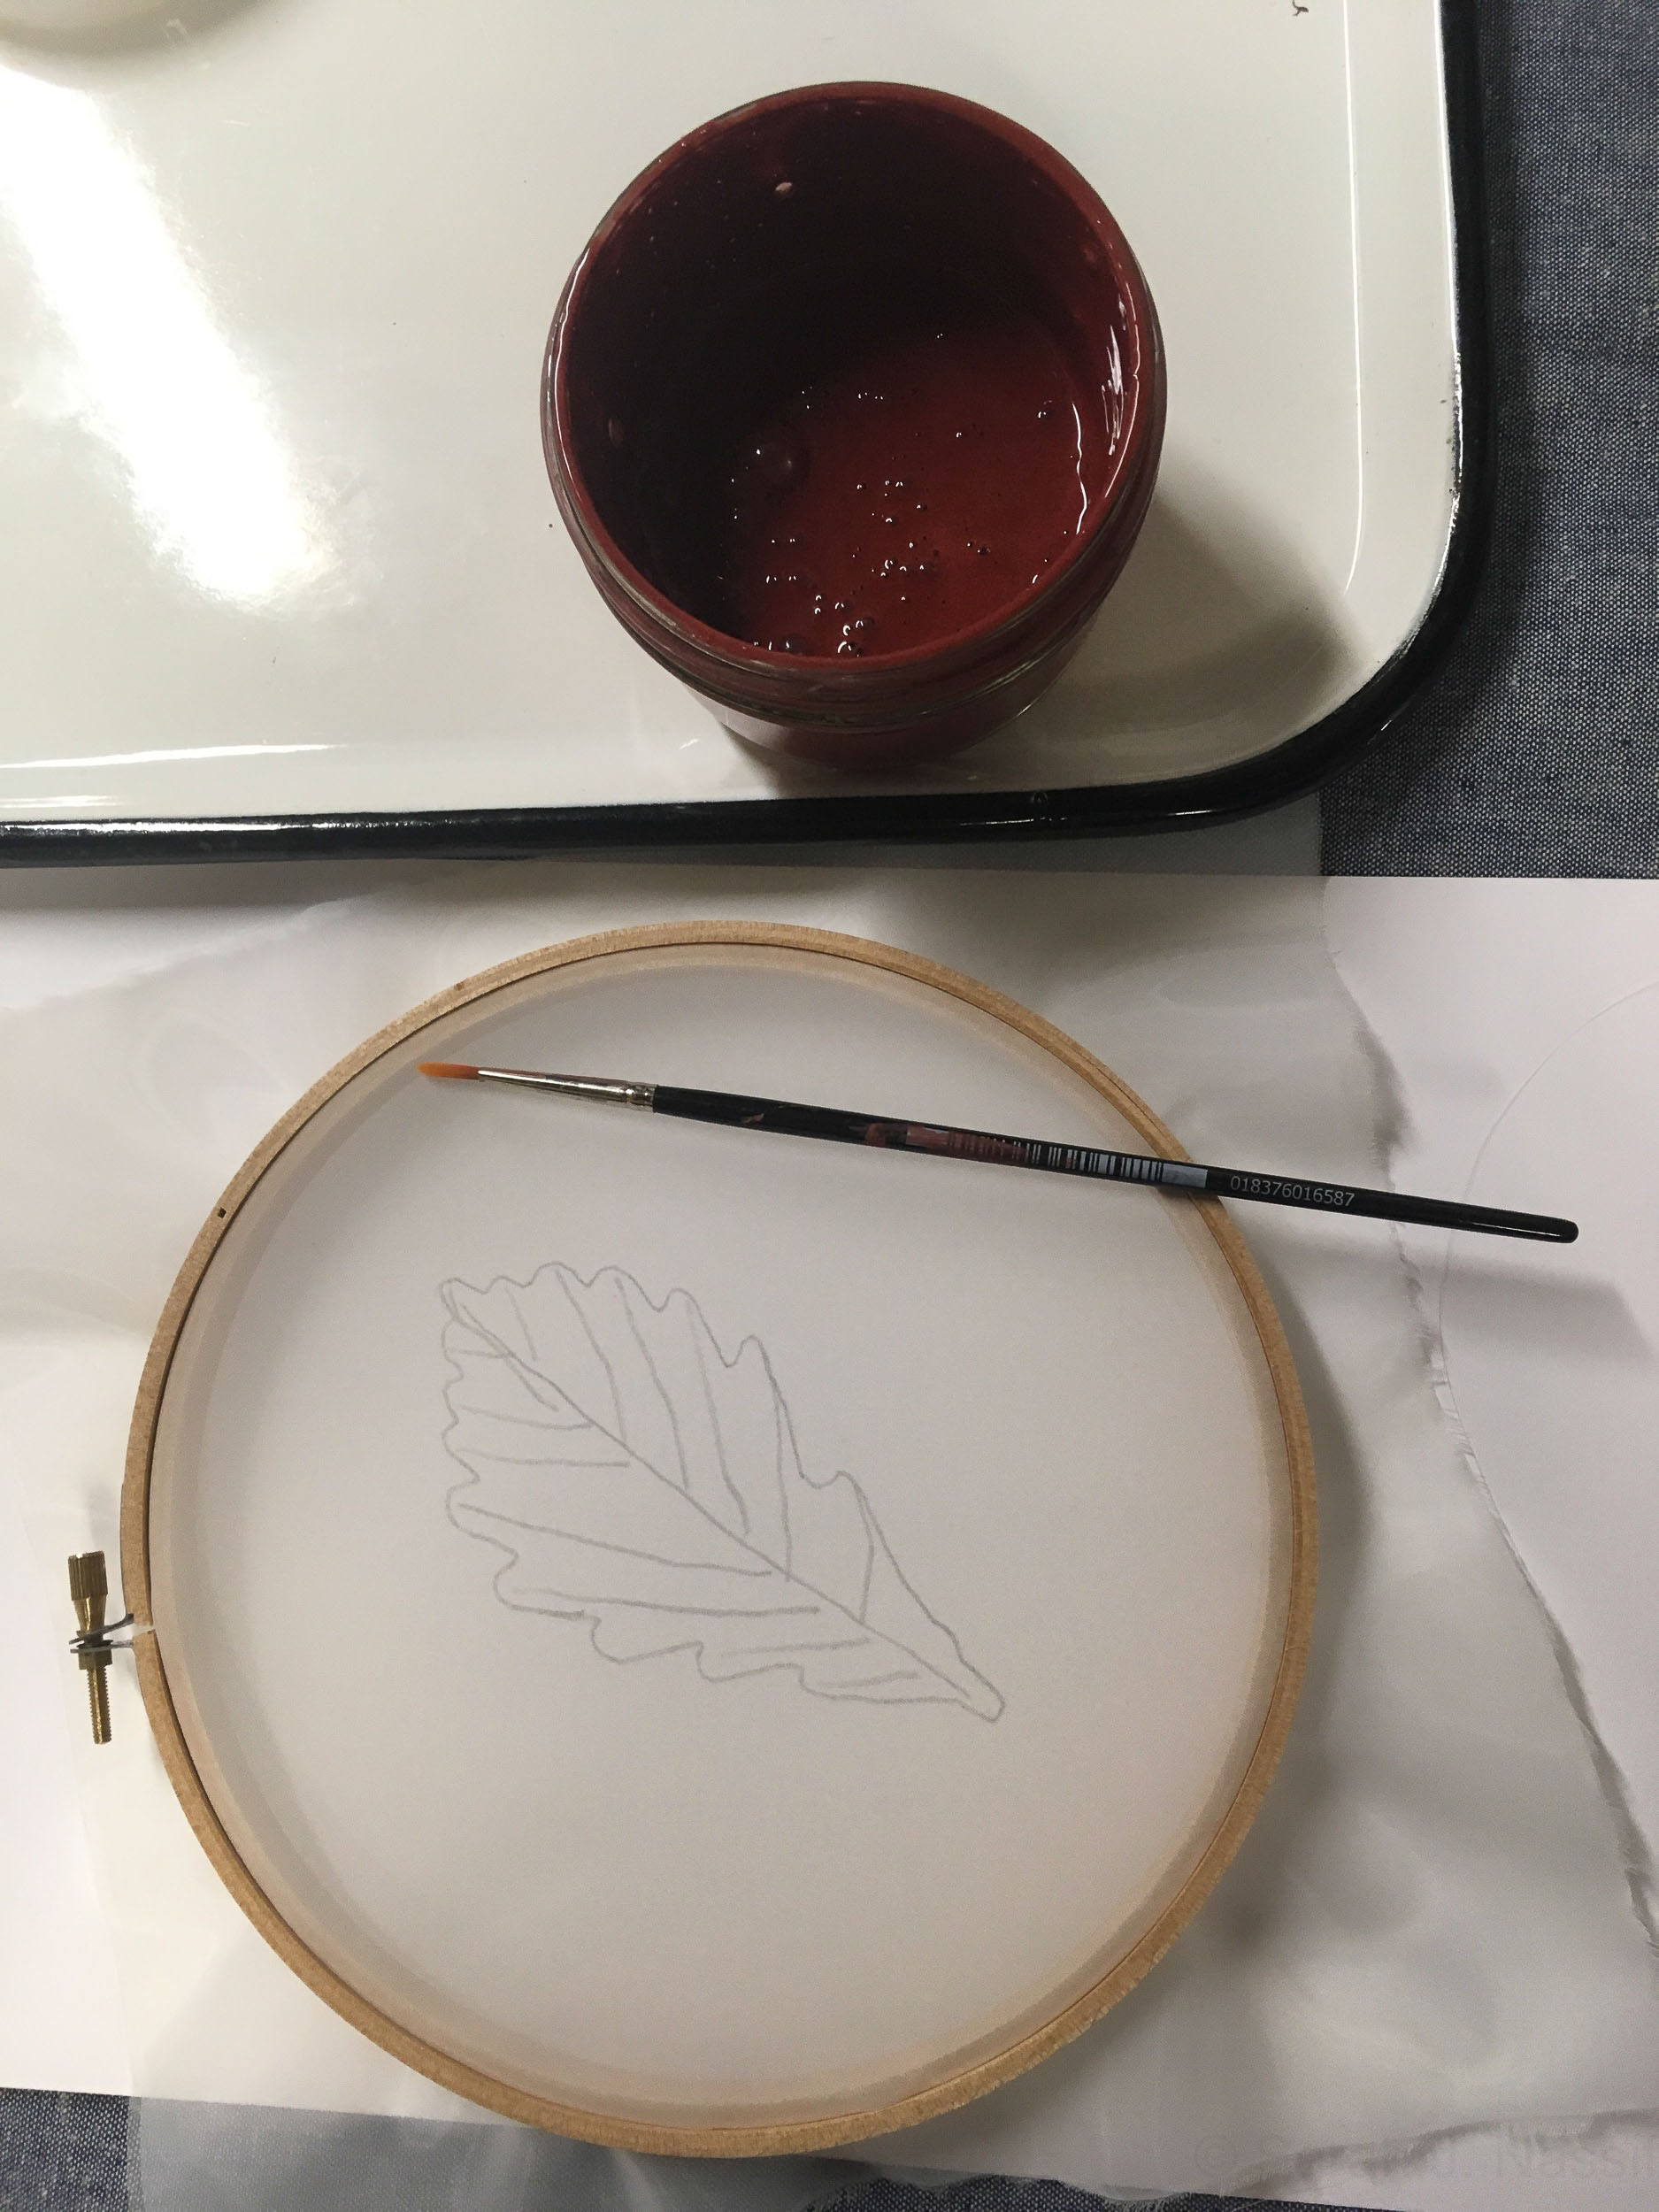
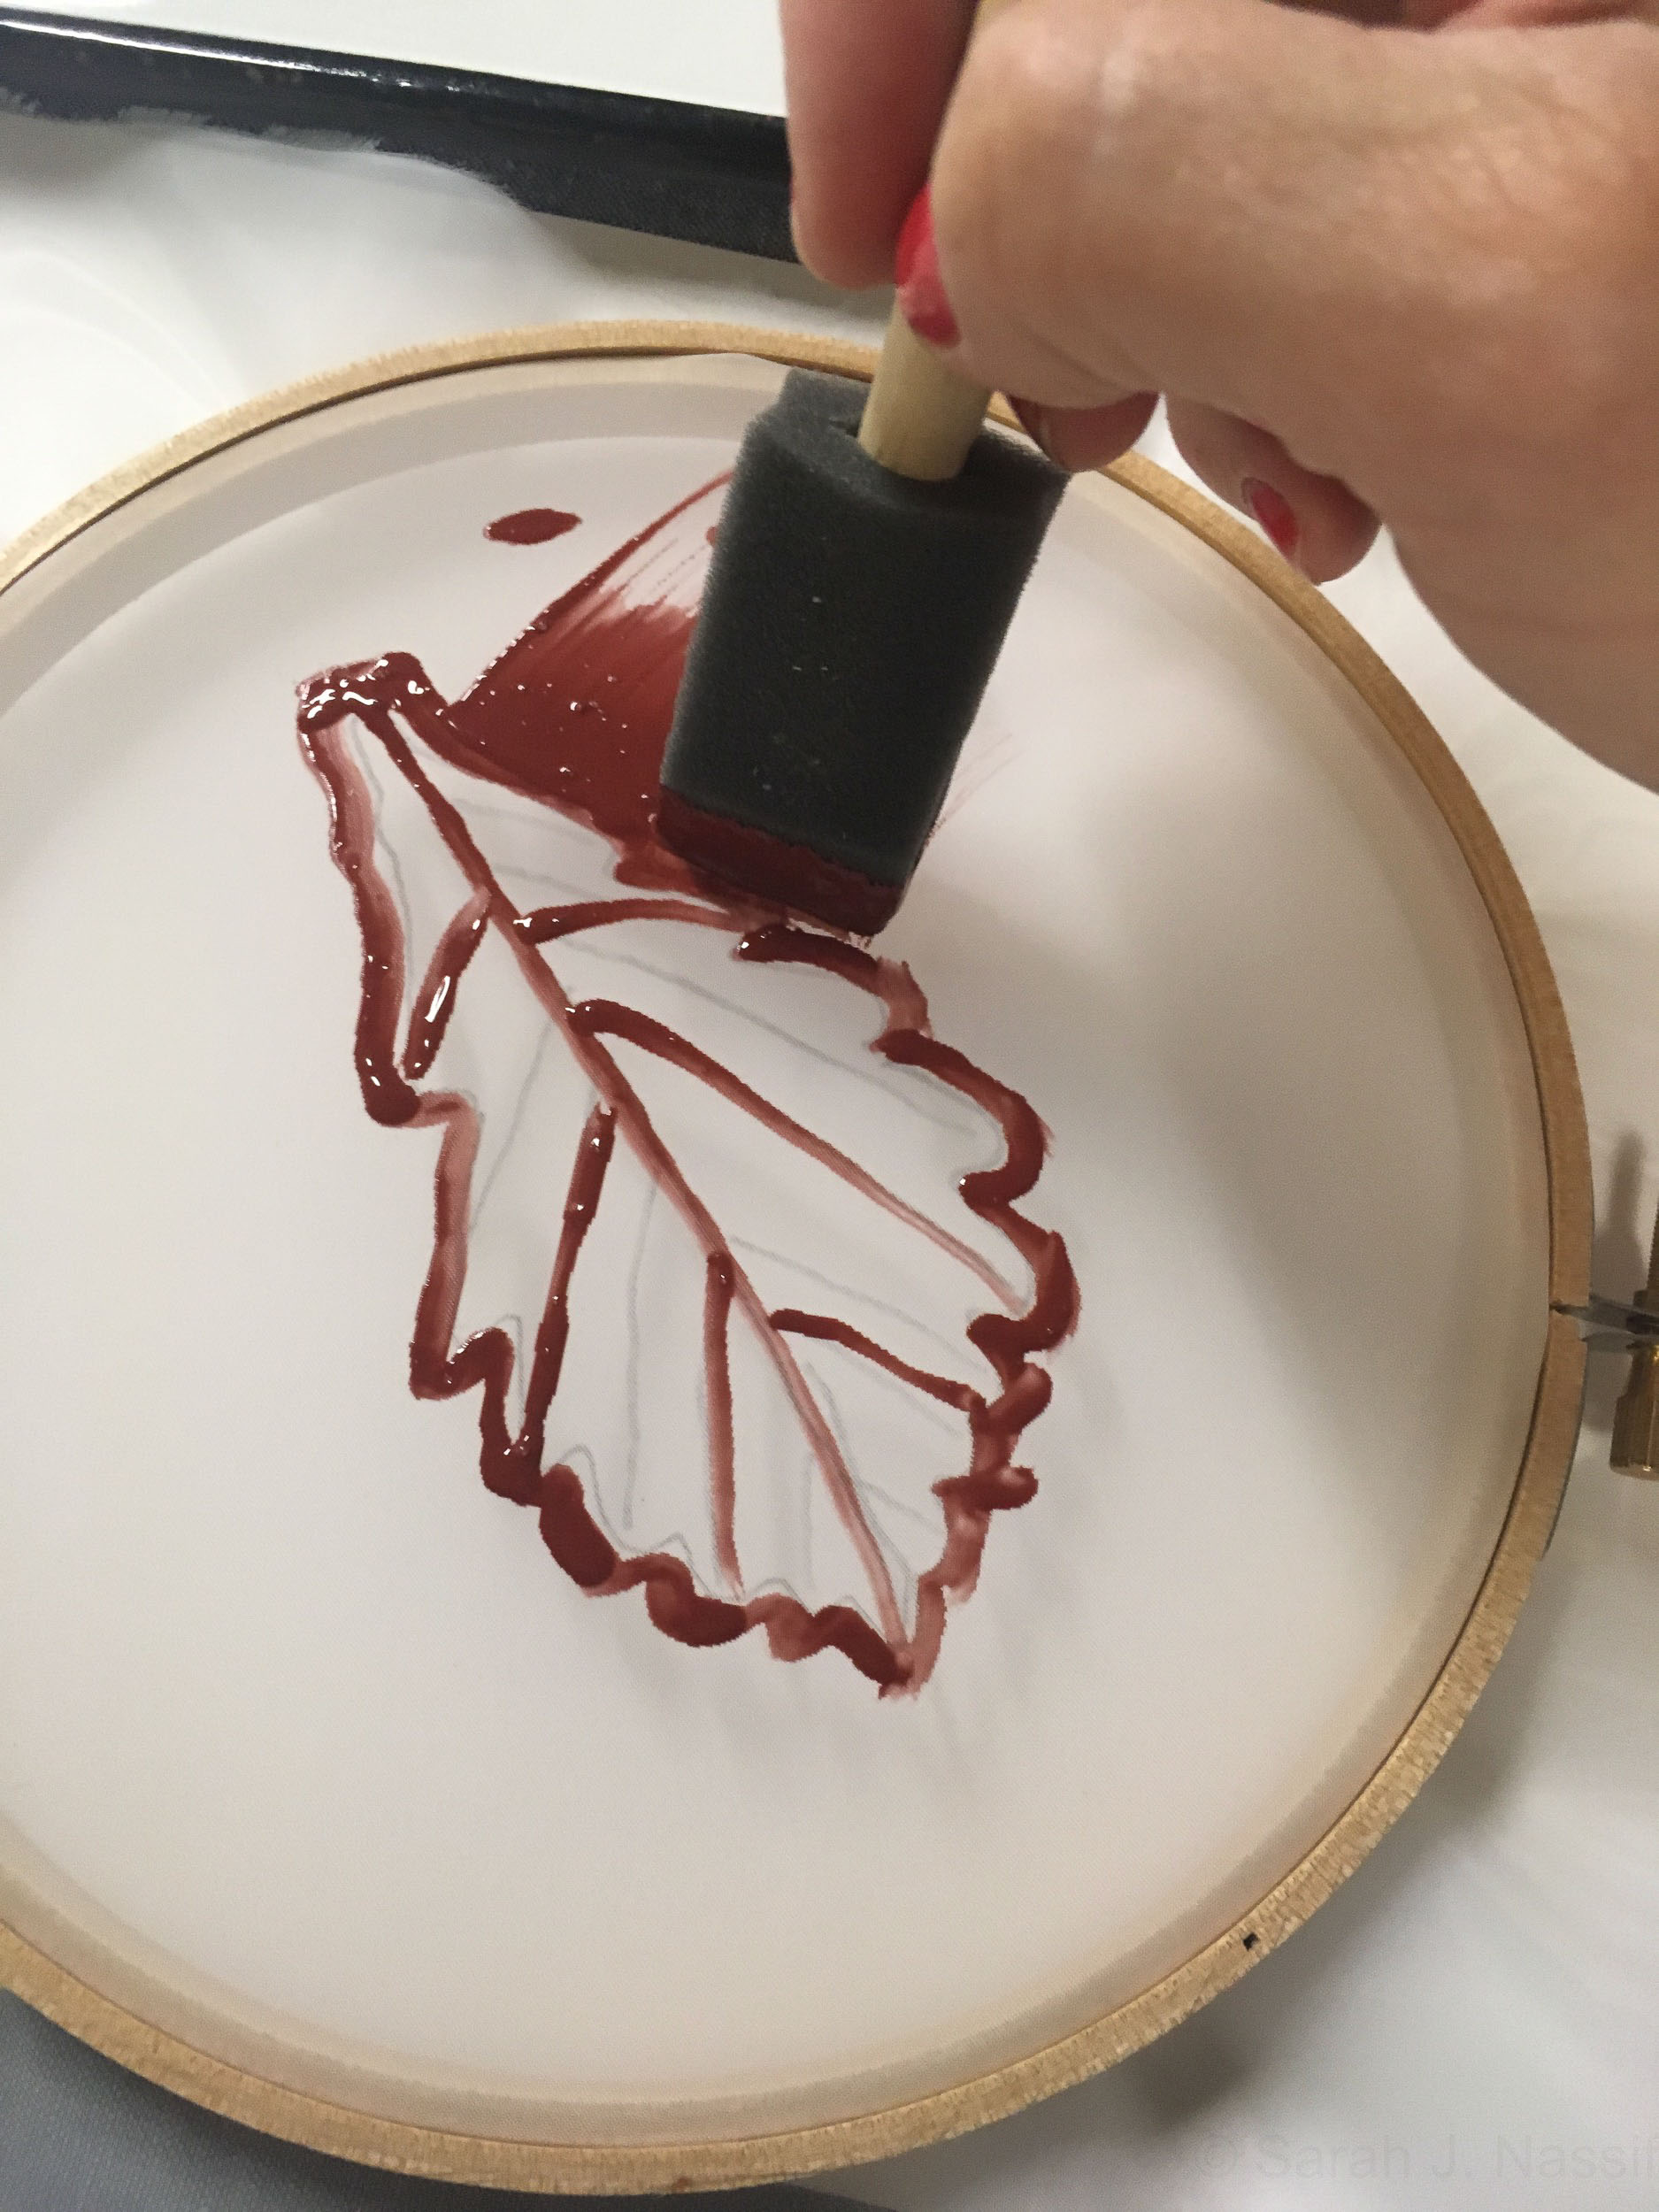
Use a pencil to trace your motif onto the mesh.
FLIP your screen over so that the “drum” side of the mesh points up and there is space beneath it. Don’t do the next step if your mesh is touching the table—that means you still need to flip your screen over.
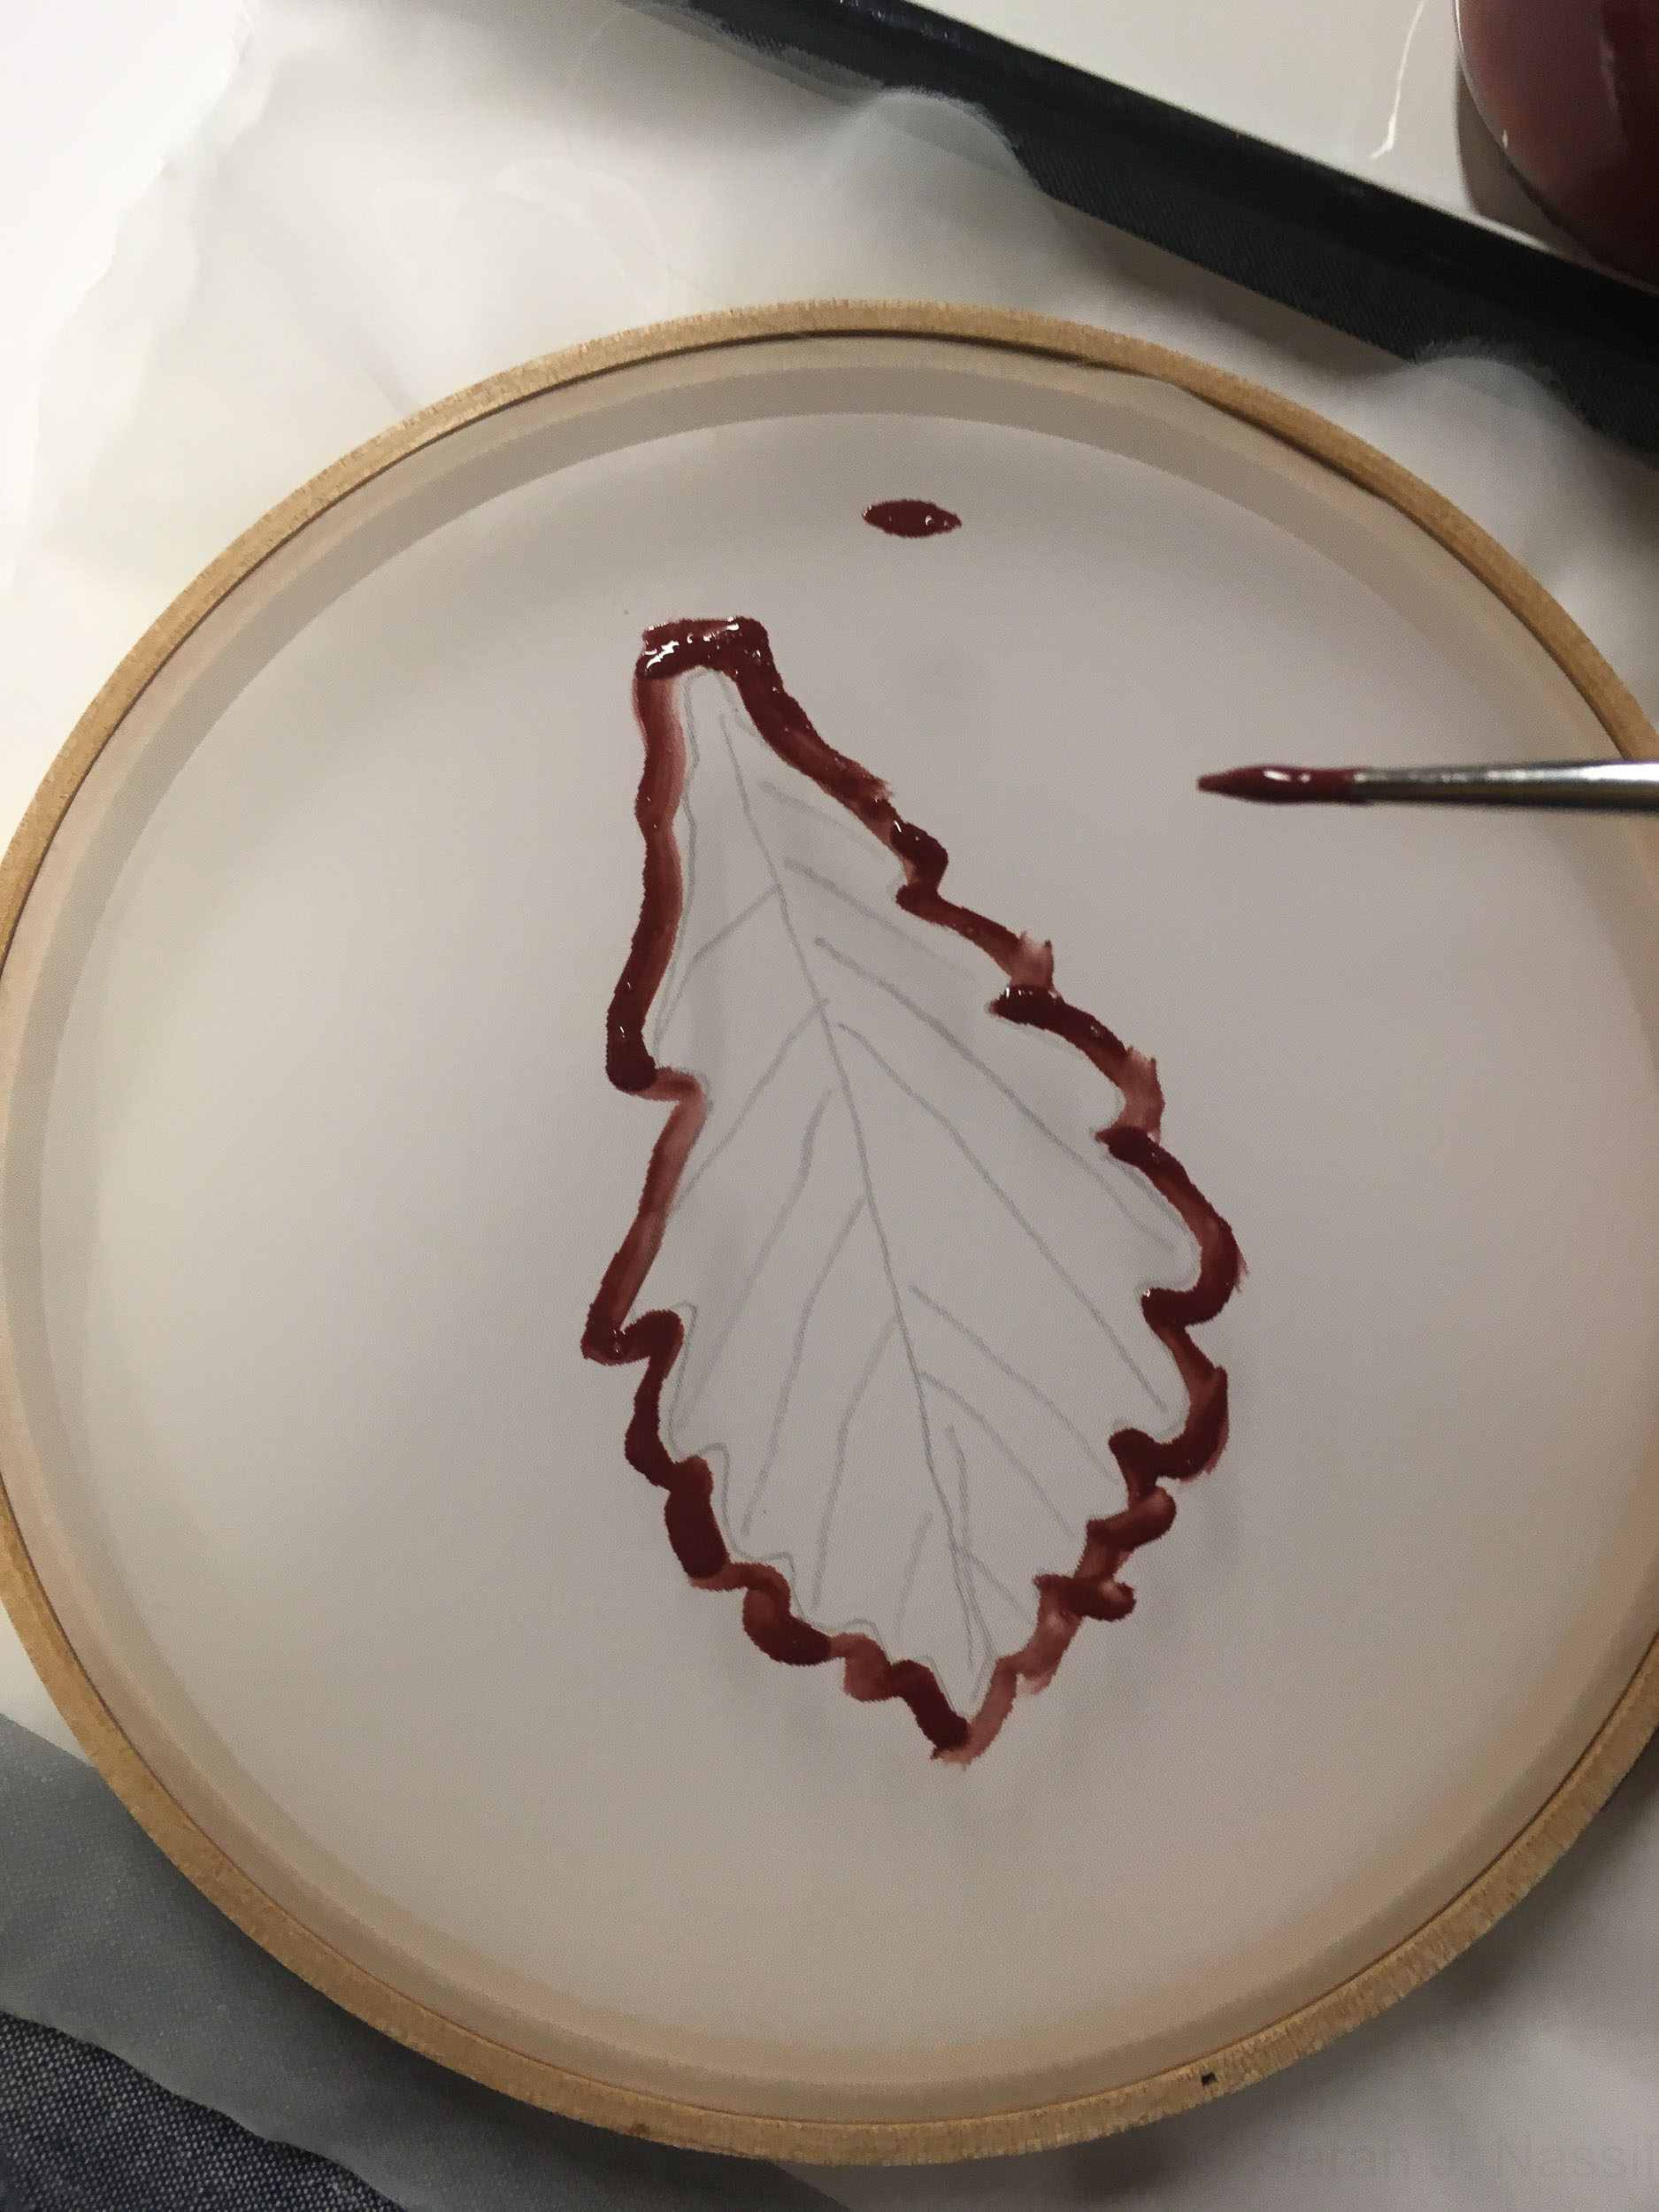
Shake the screenfiller to mix it. Using your small or medium brushes, trace the outline of your design. Remember, the screenfiller will block ink from going through the mesh.
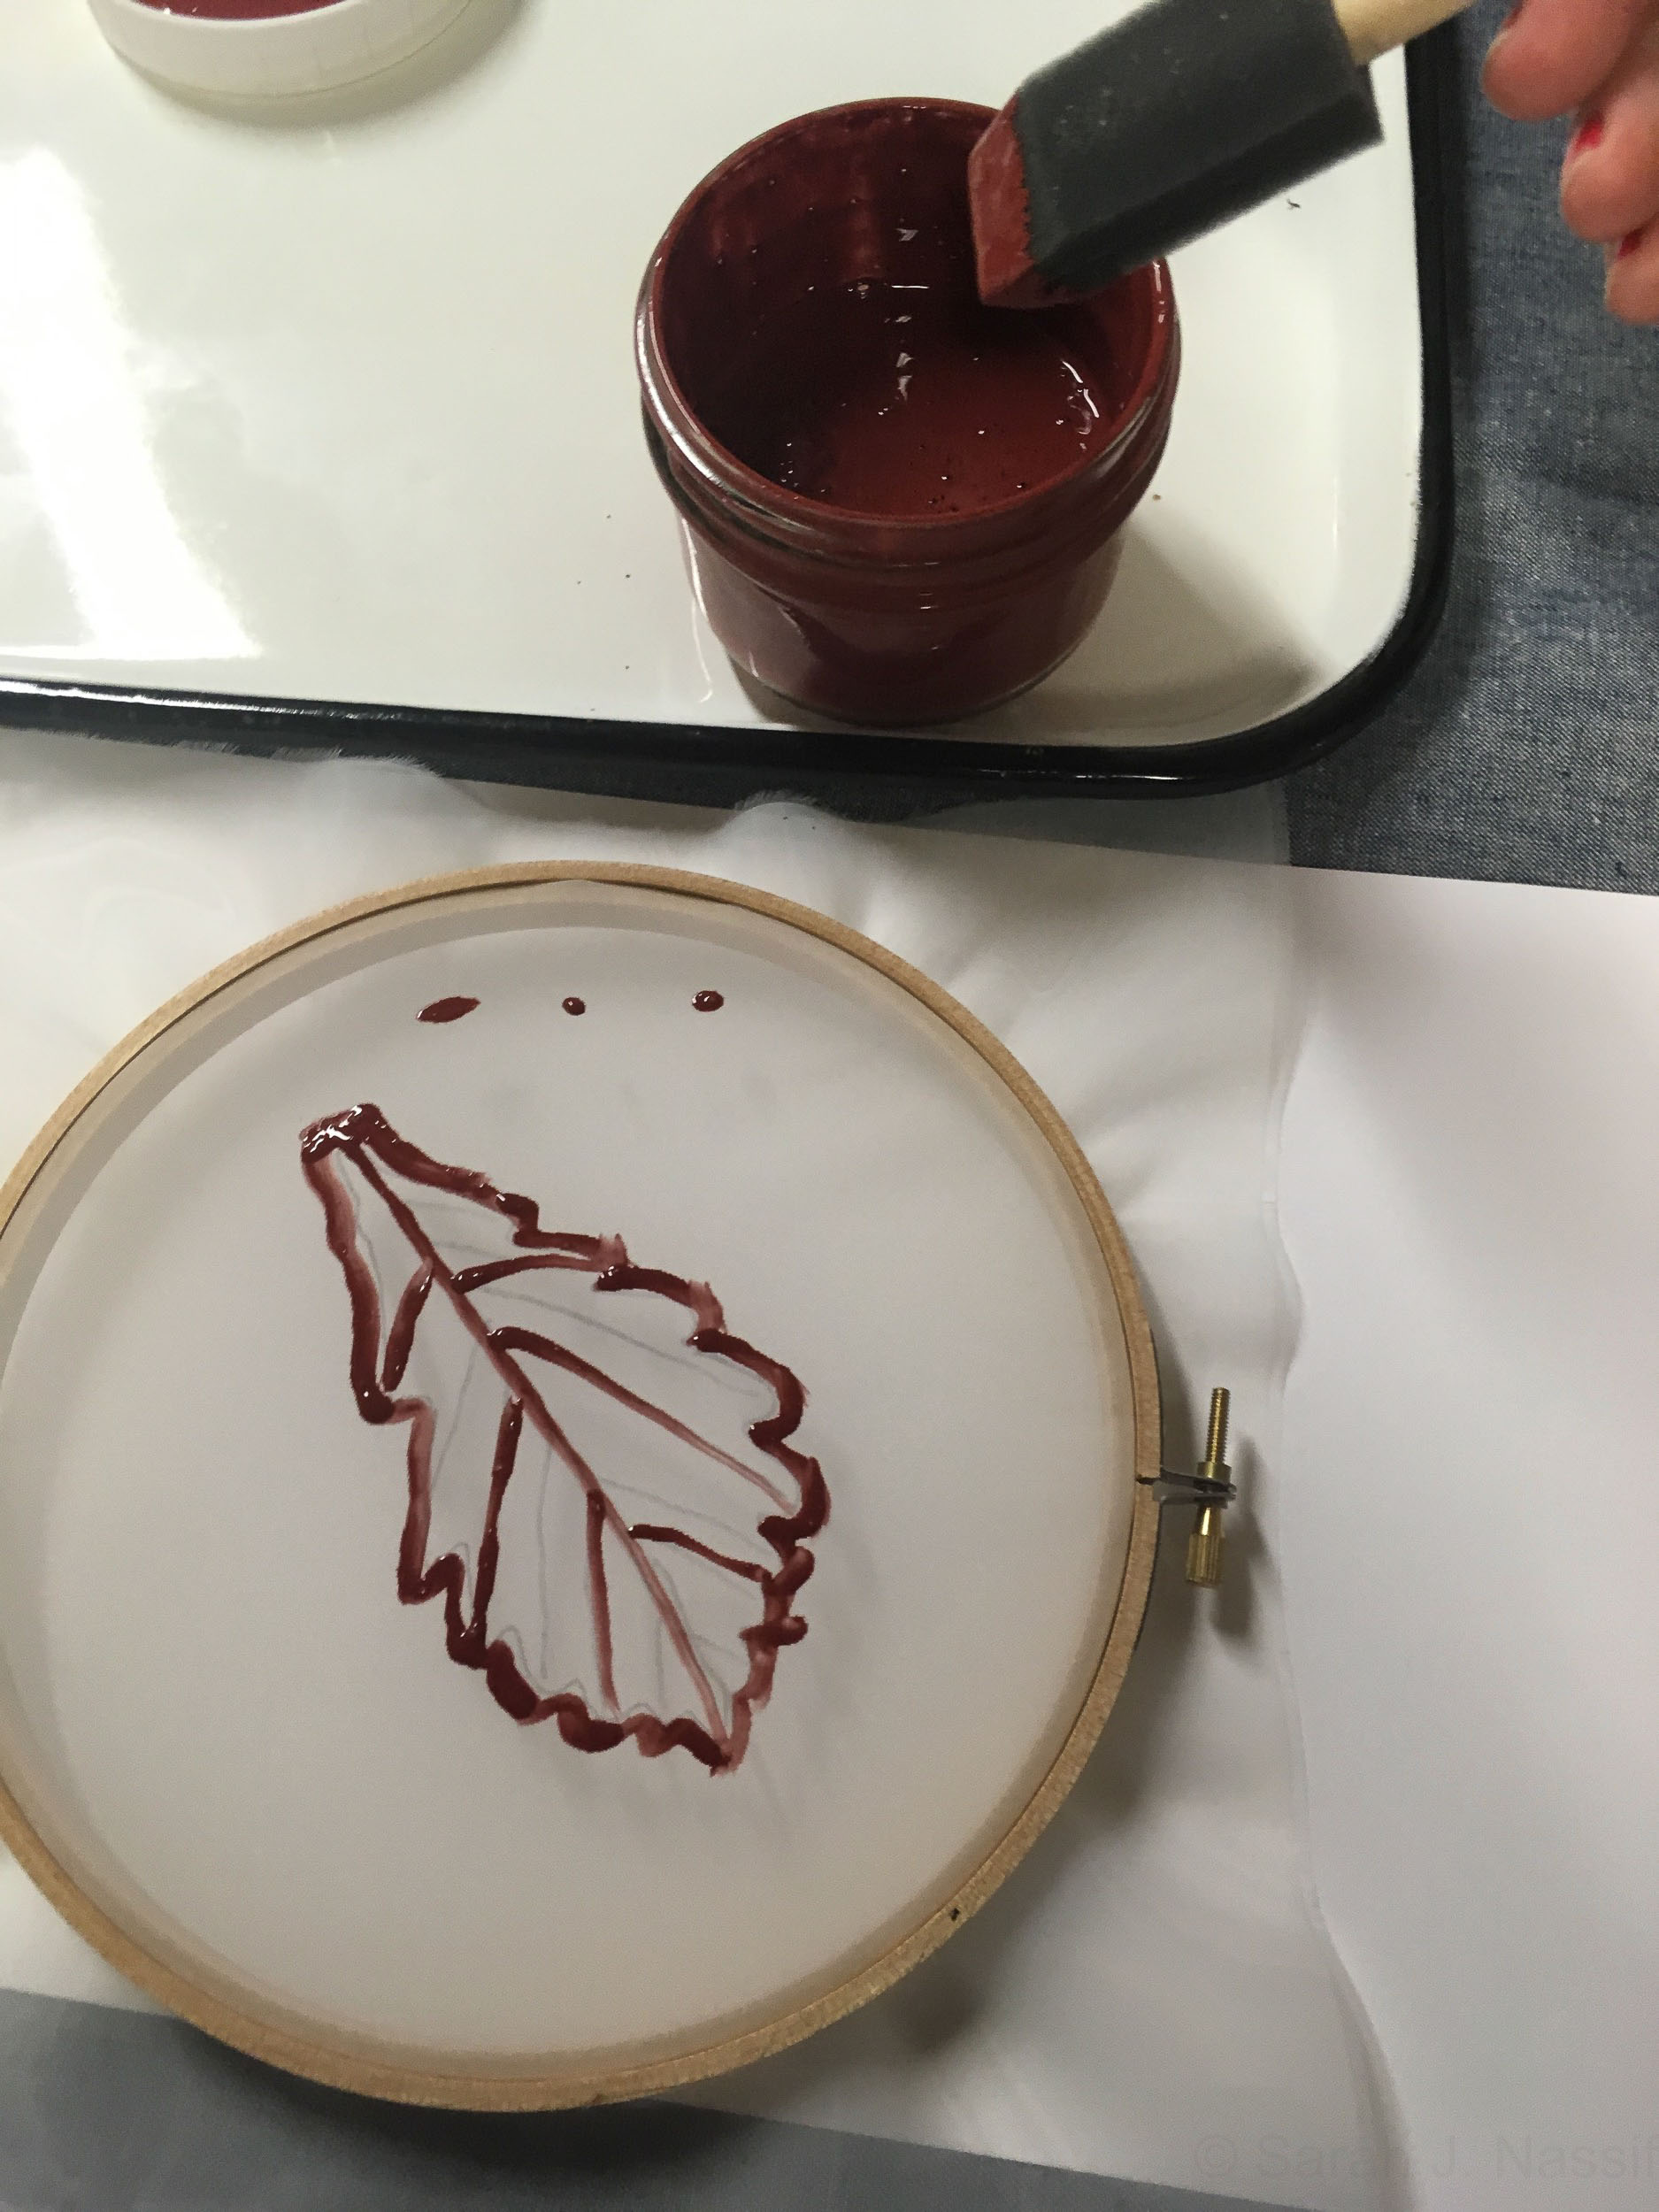
Add interior details like leaf veins or insect activity you observe.
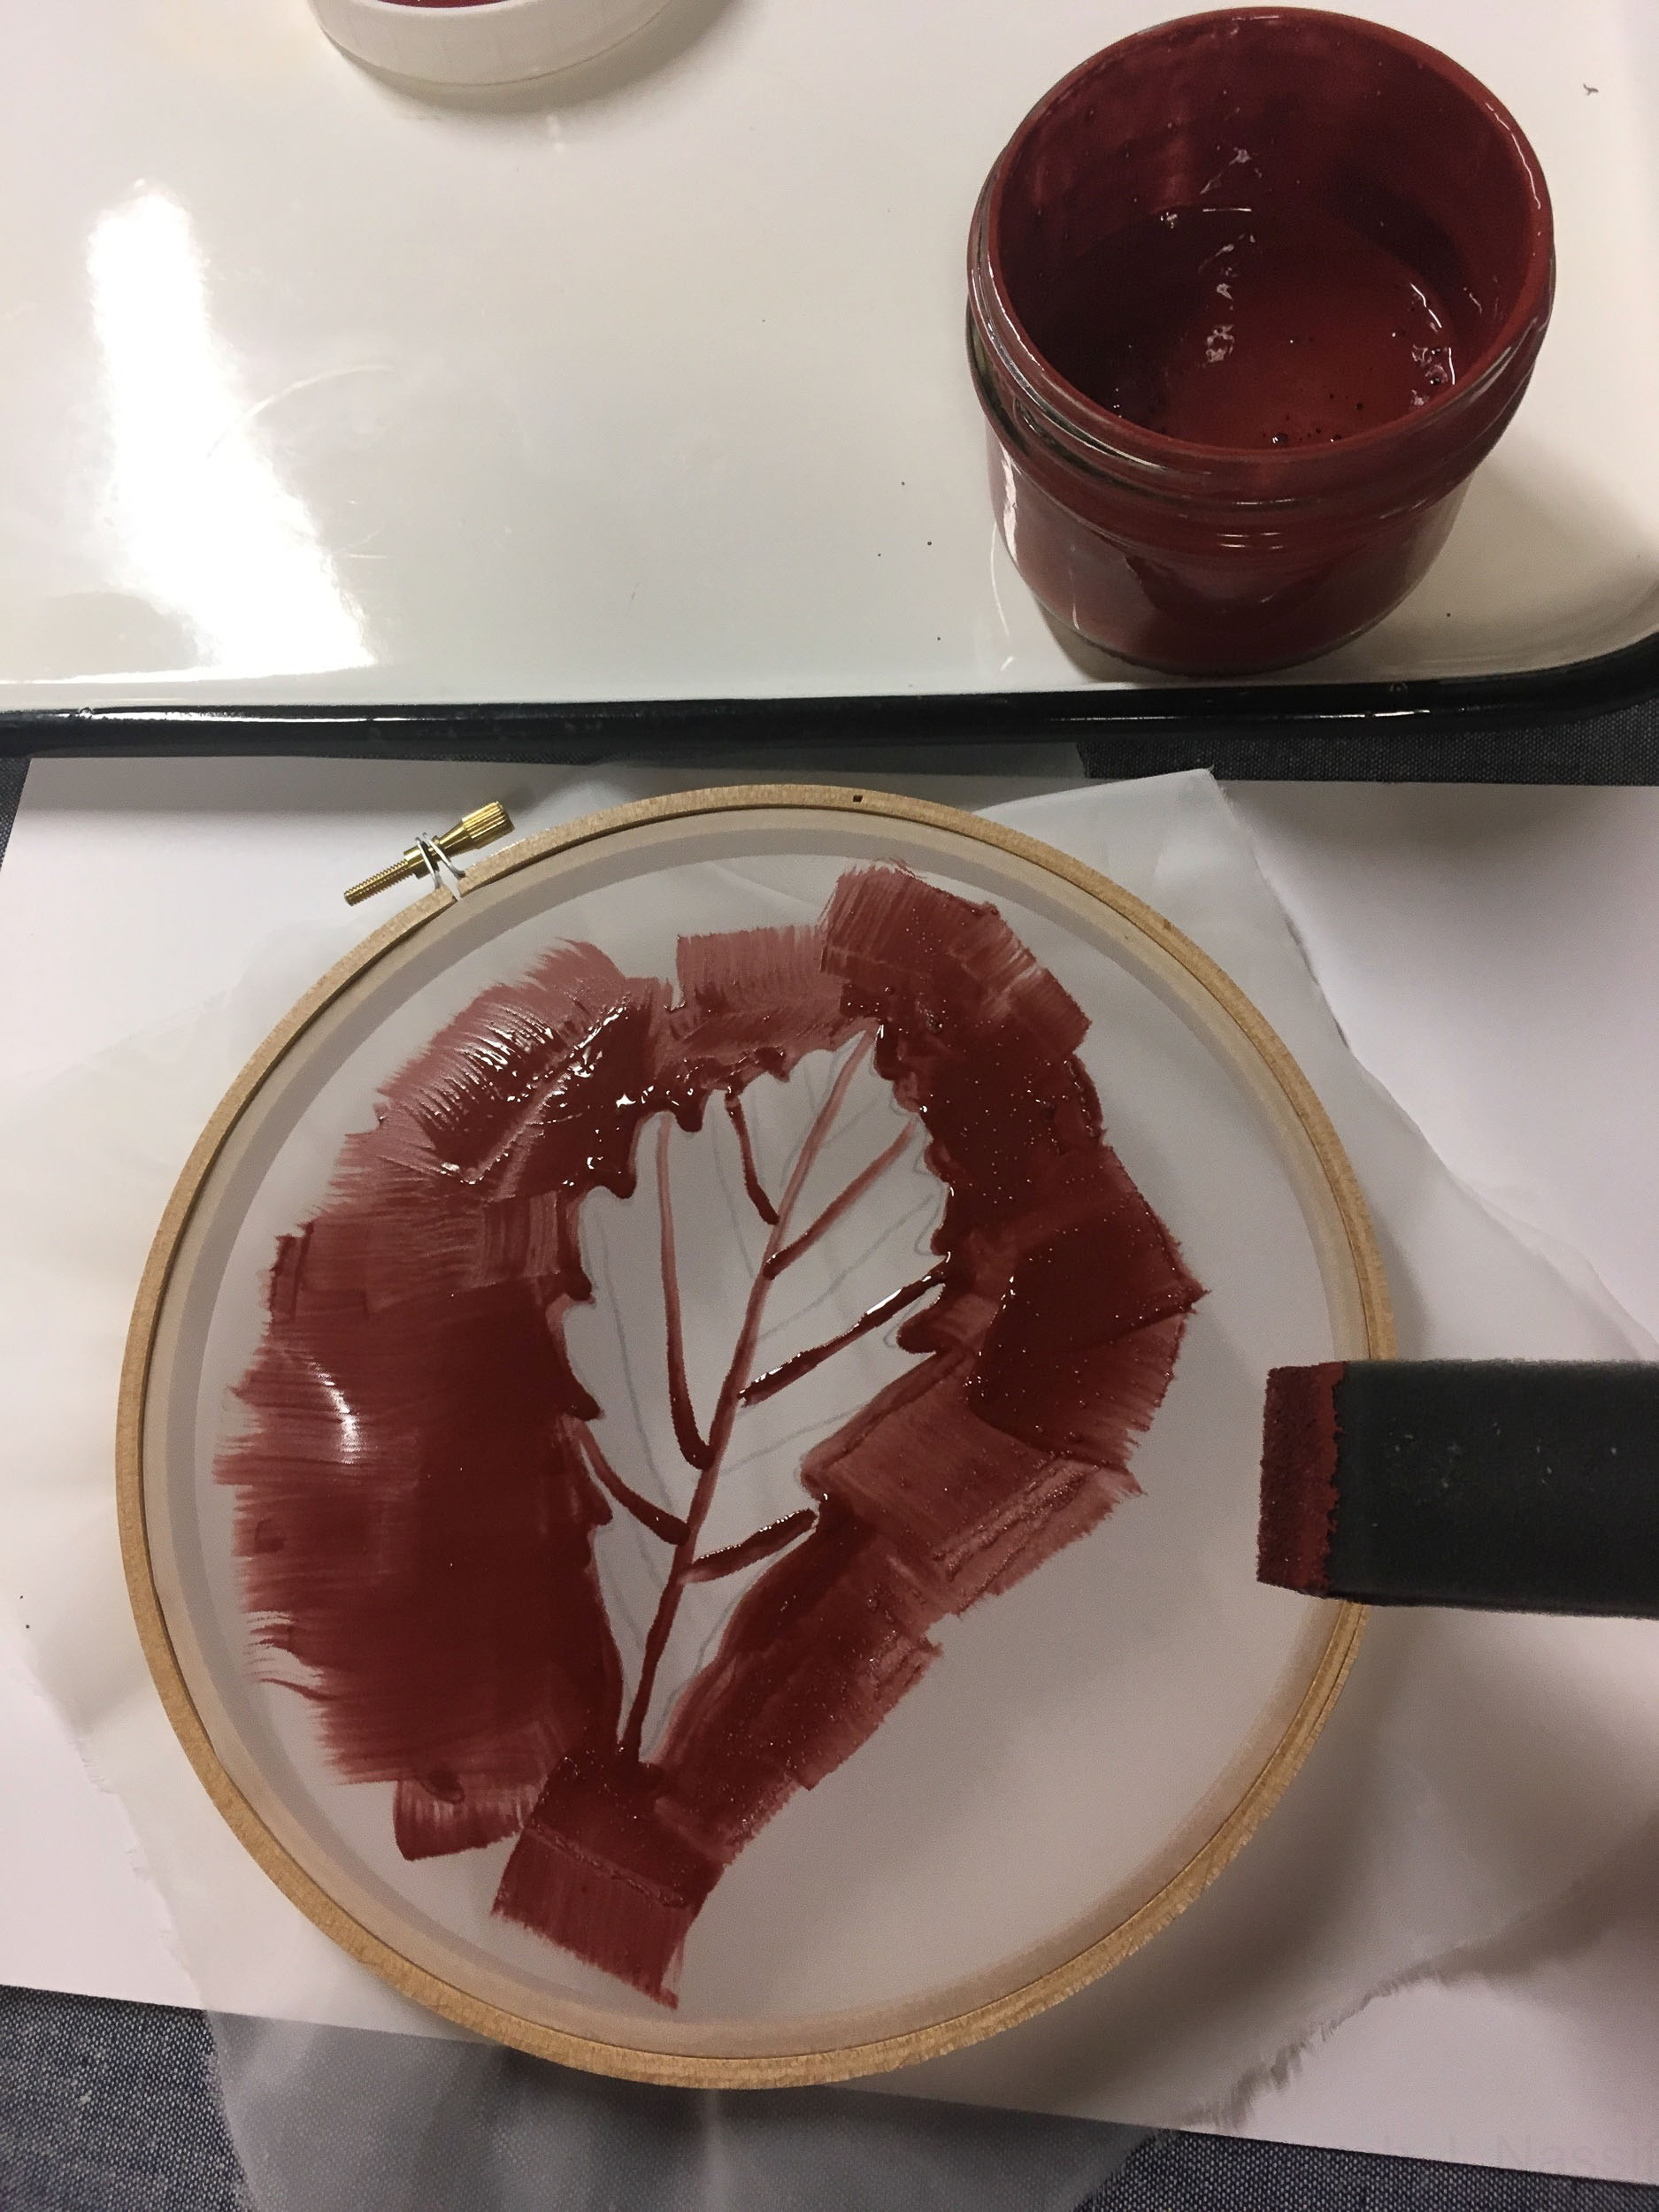
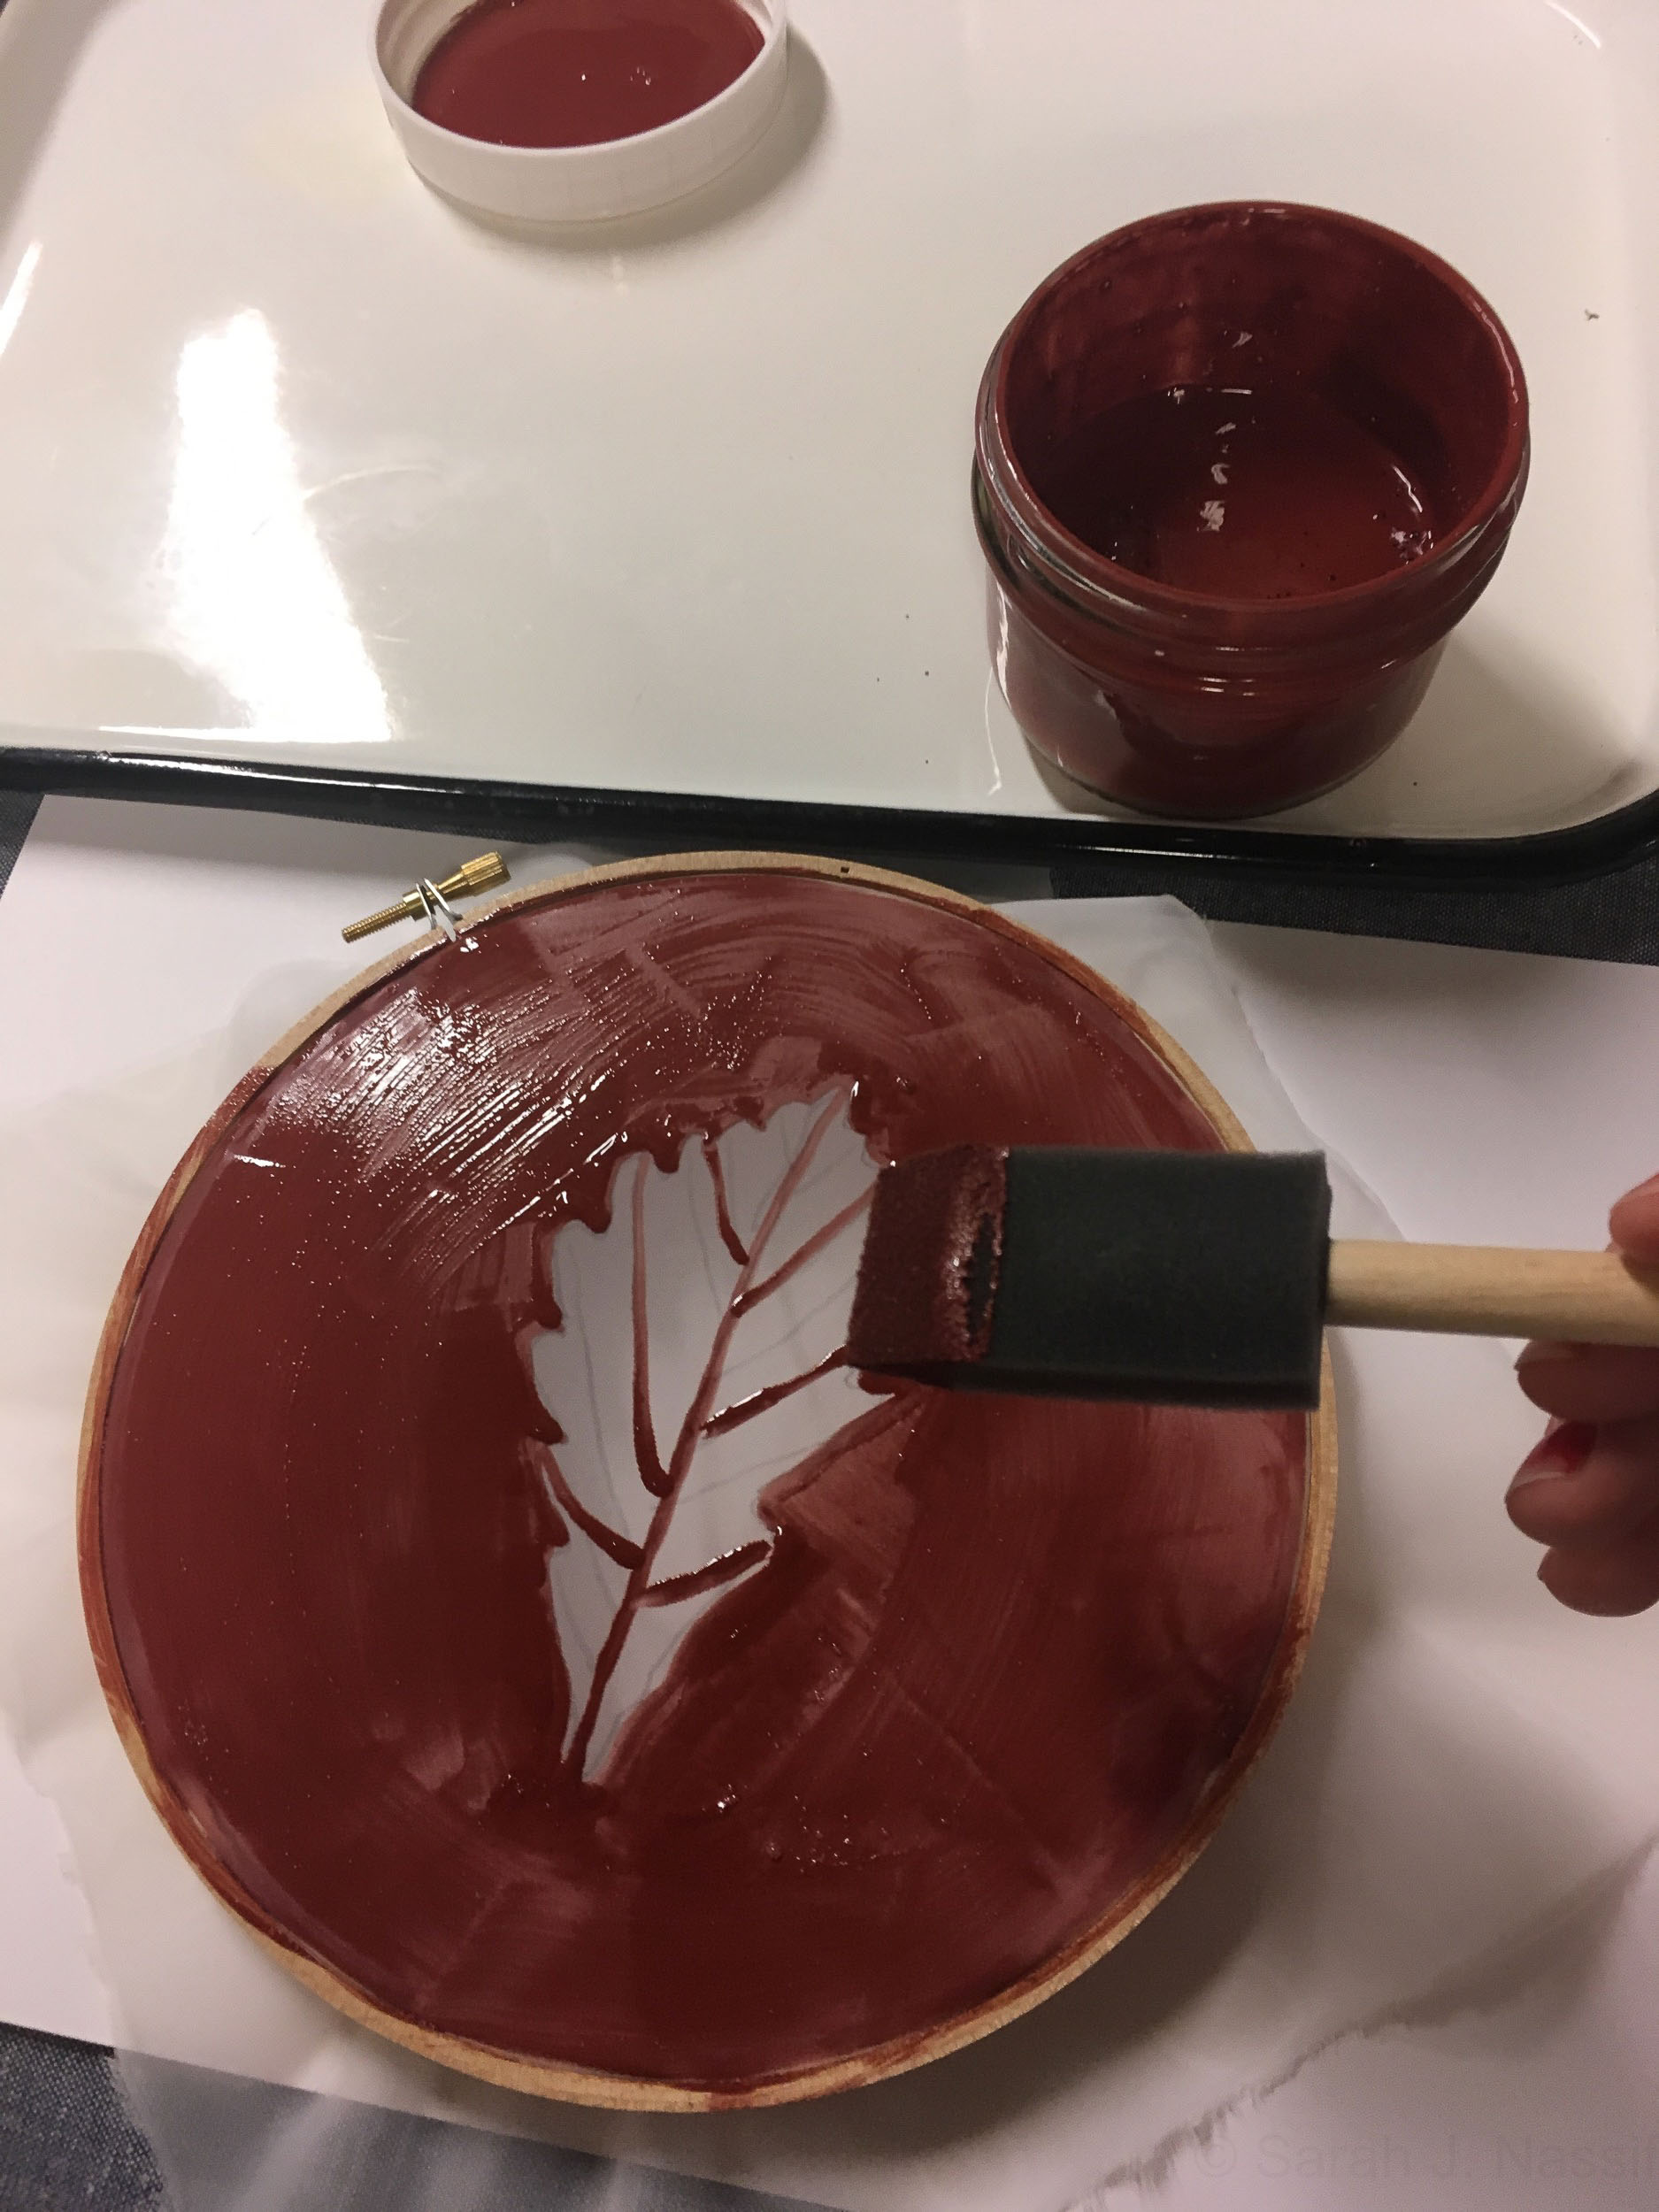
Once you have the motif part accomplished, you can use the foam brush to fill in around the edges of it and all the way up to and onto the edge of the embroidery hoop.
Check your screen for pinholes or gloppy areas. Use the foam brush to add or remove screenfiller so that you have an even, not-too-thick or too-thin coat.
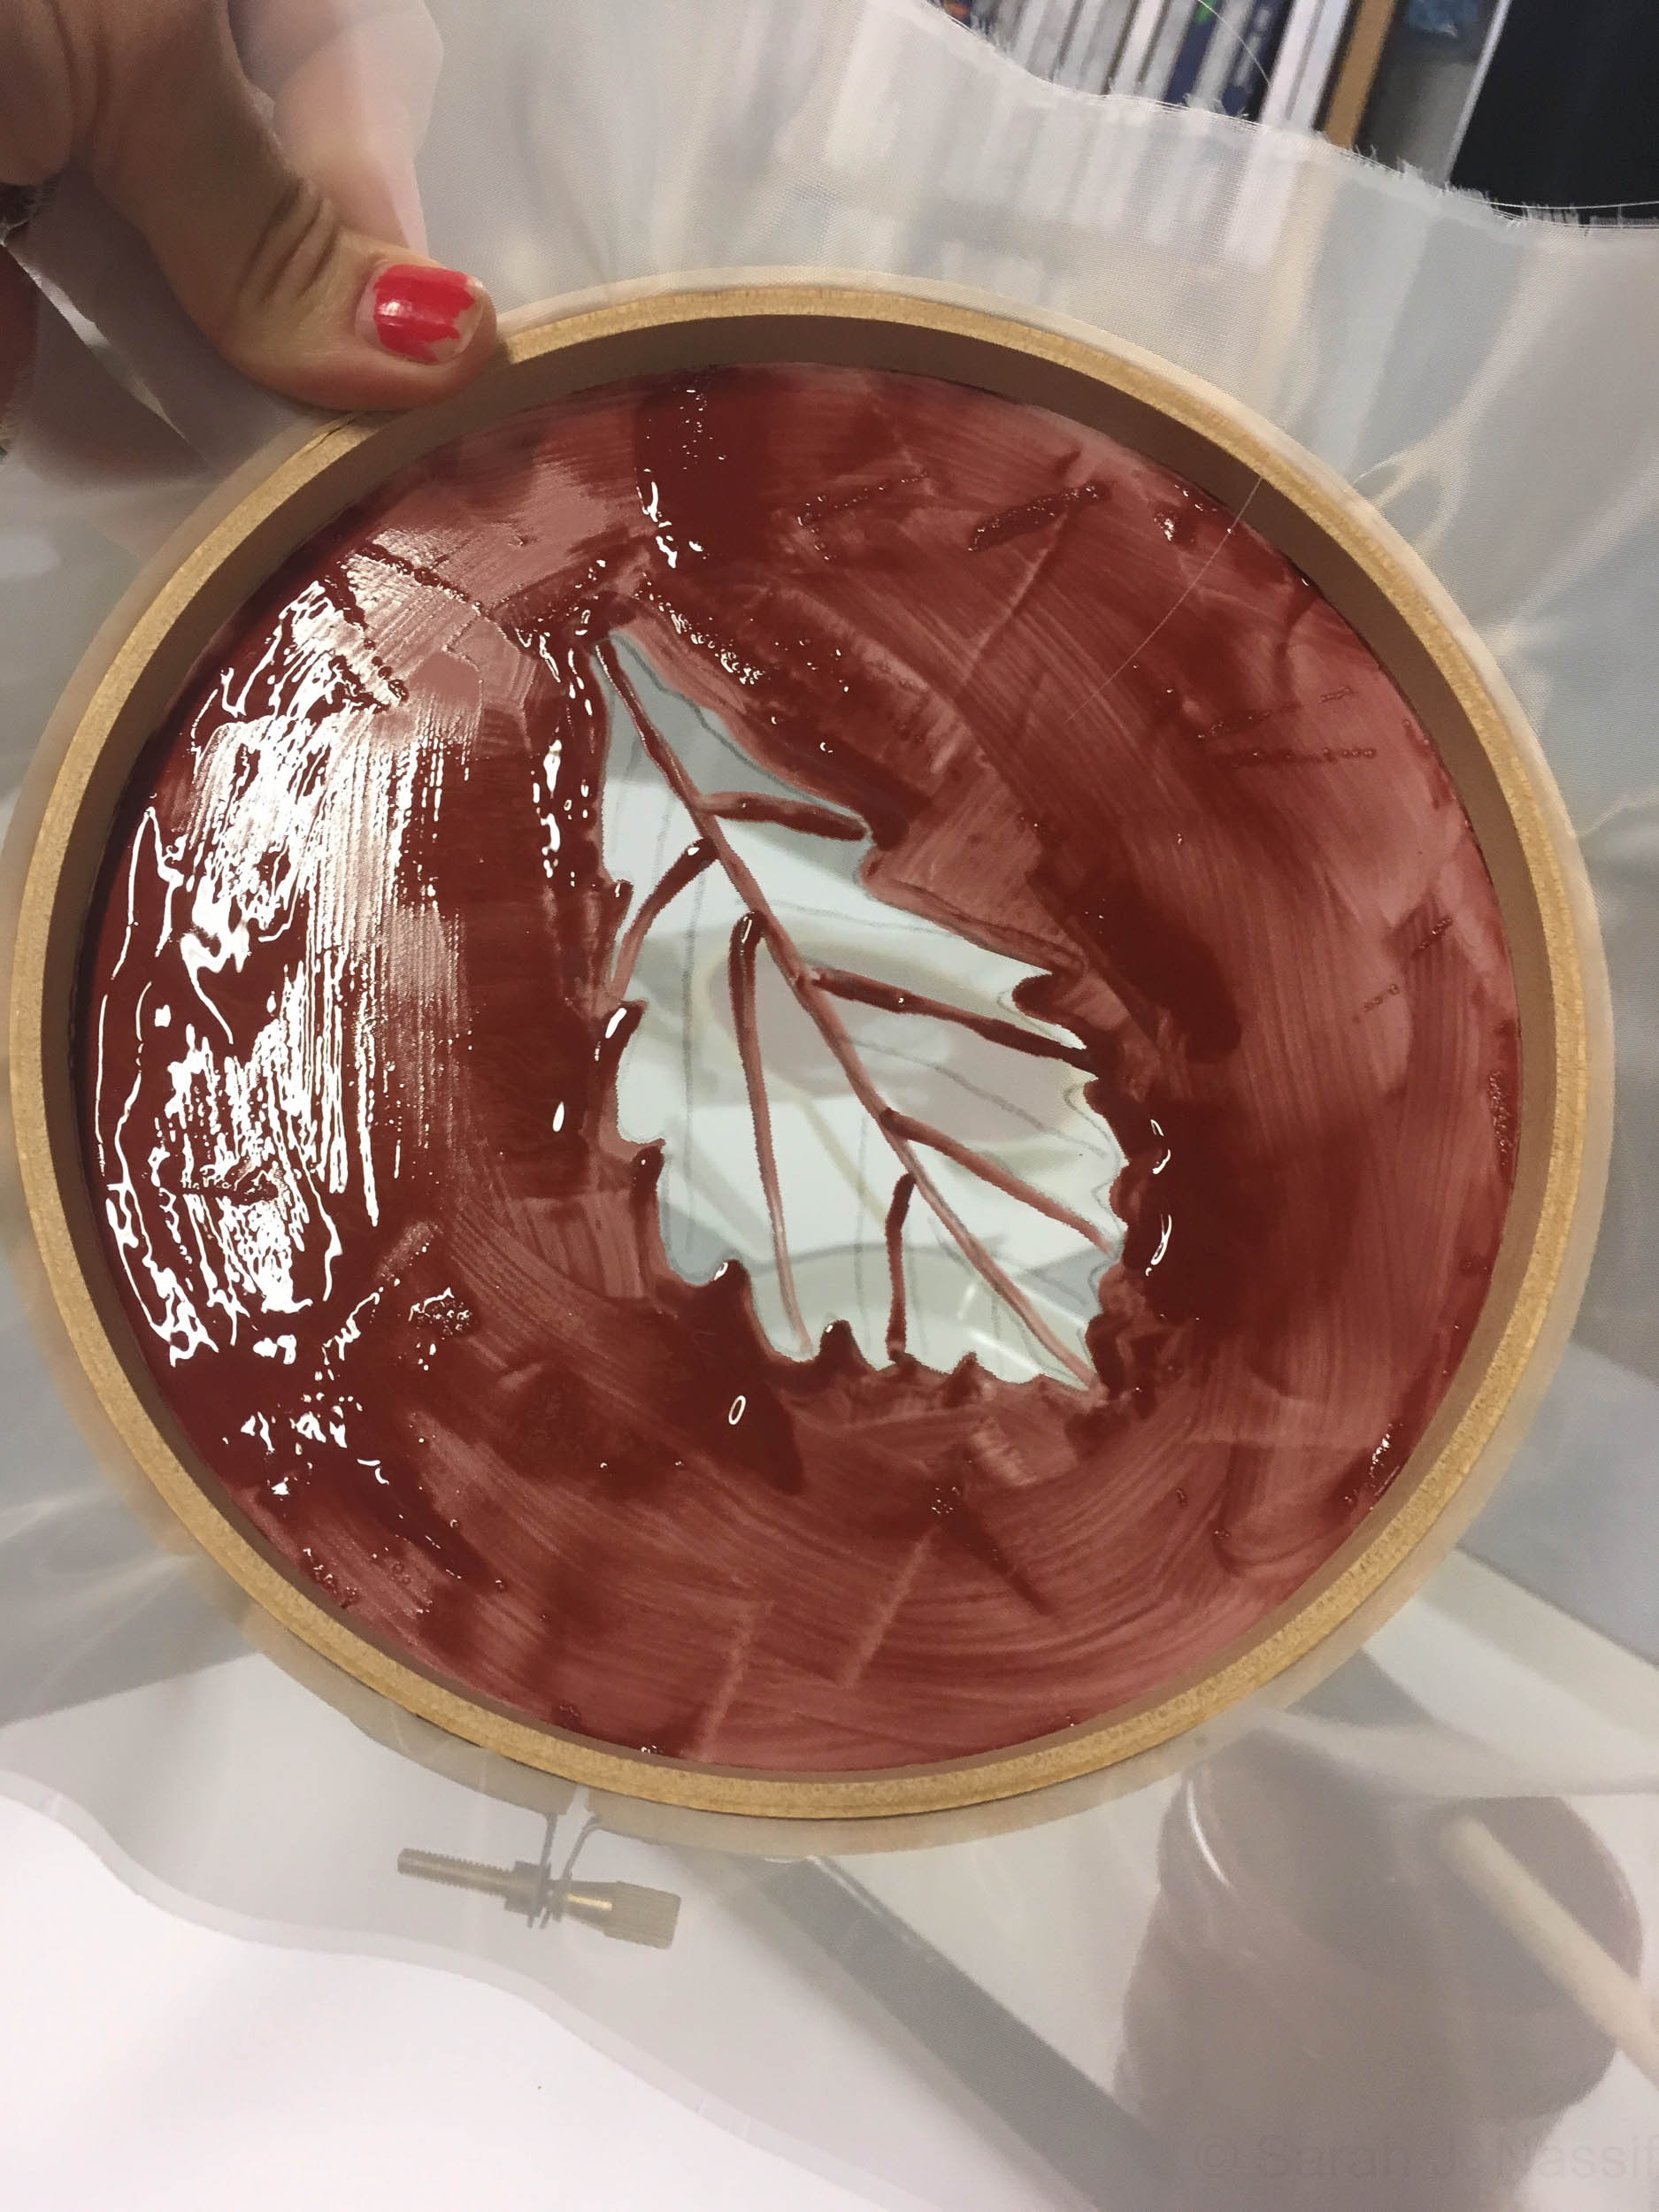
Let it dry. In the sun on a warm day it takes 15 minutes. A hairdryer can speed the process.
The screen is ready when it is dry to the touch and all shiny areas are dull. Shiny means still wet!
PRINT YOUR LEAF MOTIF
Choose your paper or fabric and place your screen mesh side down on top of it.
Get a buddy to hold the screen for you until you are comfortable with the printing action.
To print, dab ink in the screenfiller area only in a line as long as your squeegee.
Holding your squeegee at a 45 degree angle, firmly pull it from one end to the other of your motif. You can do a second or third pull as long as your screen doesn’t shift at all.
Carefully lift the screen straight up to reveal your print. You are now a screenprinter!
SHARE YOUR ART
You’ve captured a unique bit of nature that shall never be seen again. Be sure to find a friend to share what you noticed!
Idea: you can print your friend a little cloth or a card as a gift!